1 |
|
||||||||
|
|
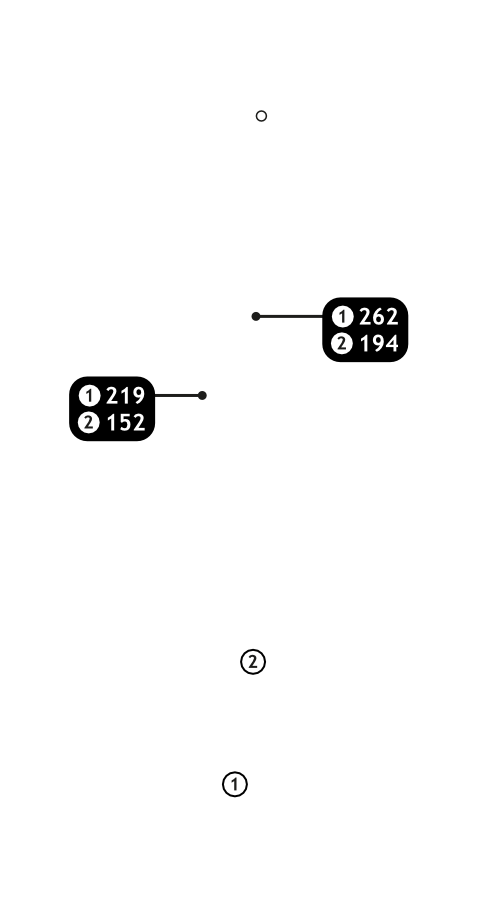
Buttons toggle between distance guide and media. See hole layout for result. If available, click icons to view media.
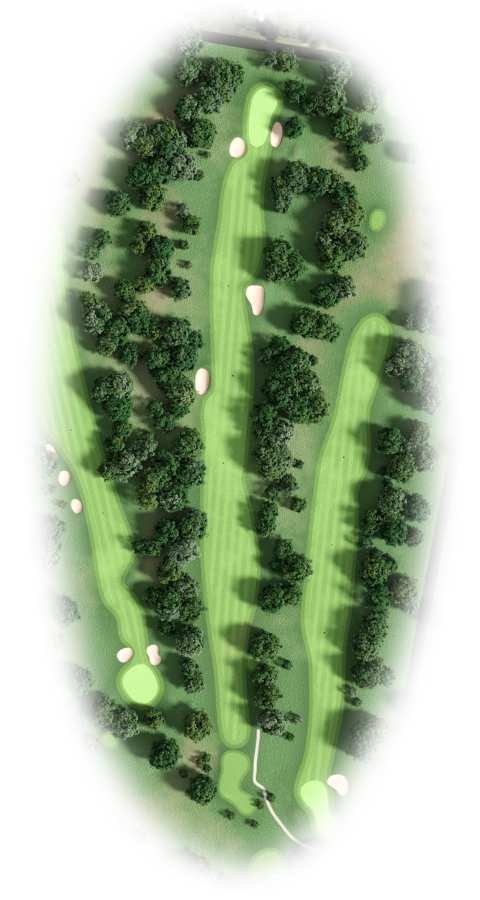
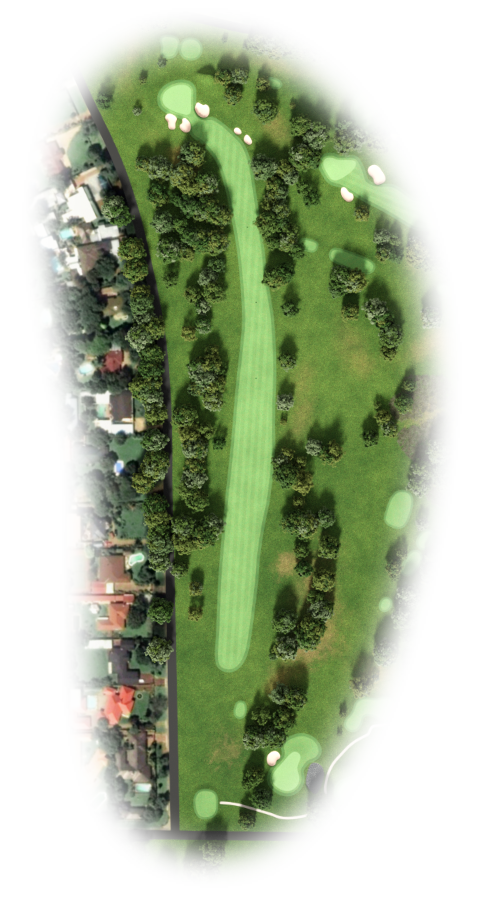
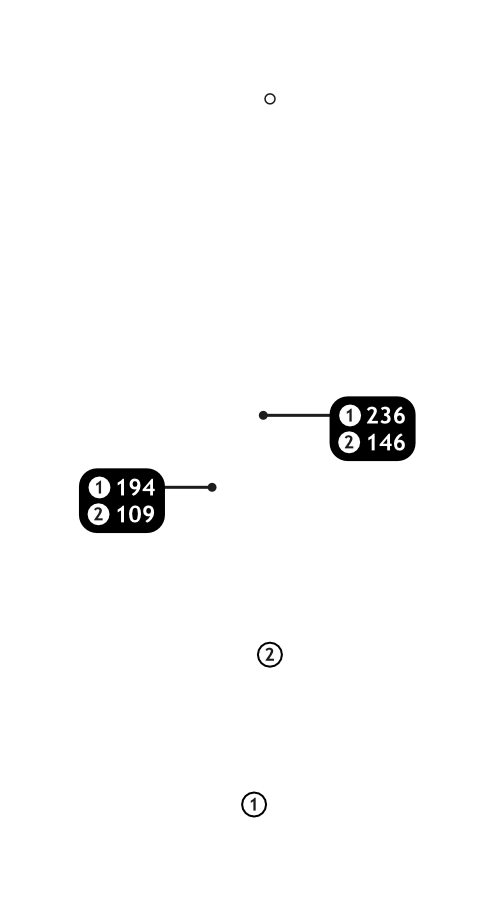
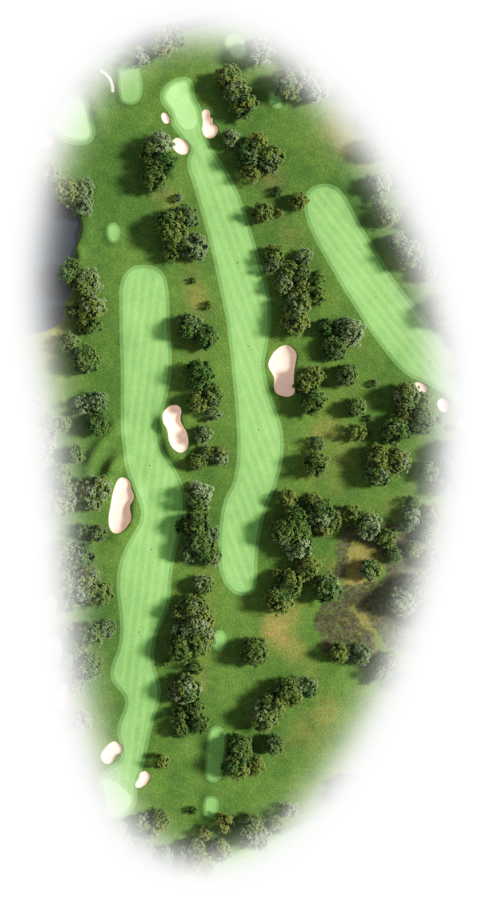
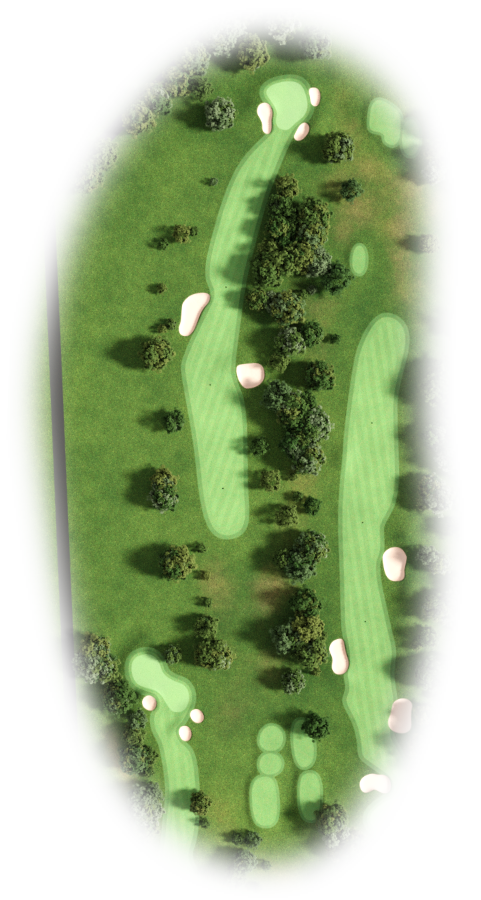
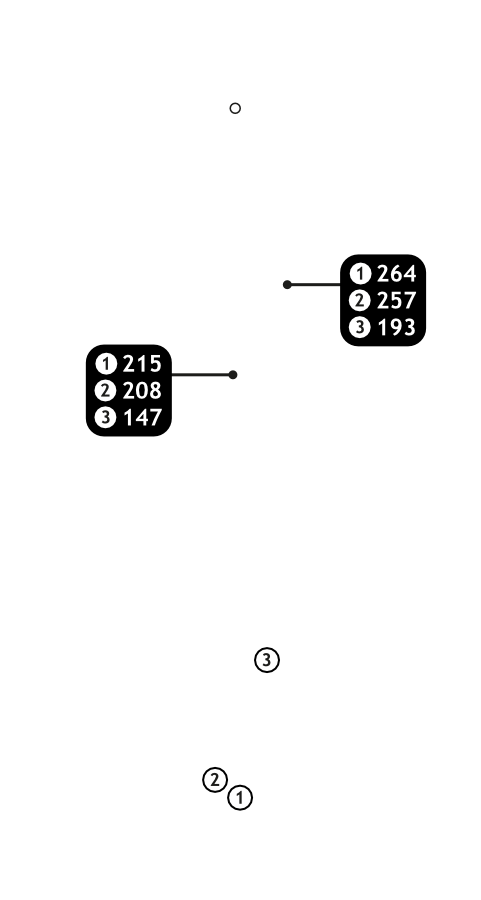
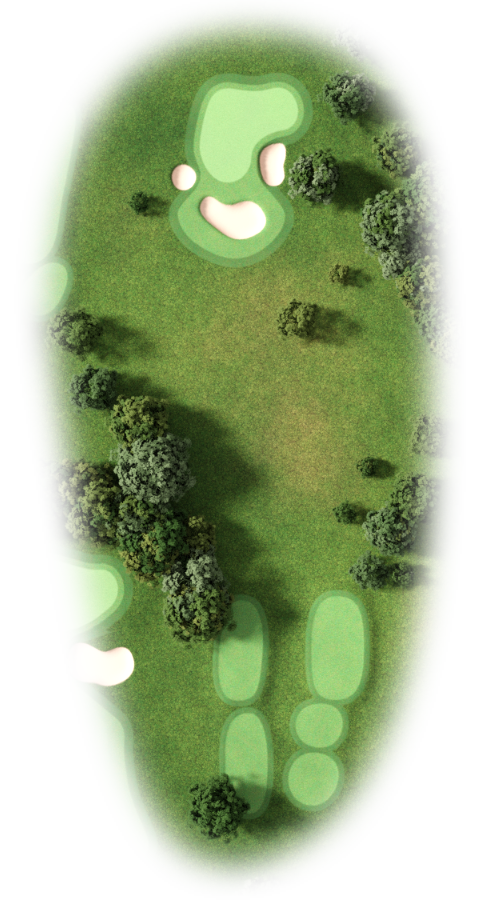
A tee shot, short of the right fairway trap is required, leaving you with a medium to short iron to a long narrow green. The long hitter can carry the left trap leaving a short wedge.

2 |
|
||||||||
|
|
Buttons toggle between distance guide and media. See hole layout for result. If available, click icons to view media.
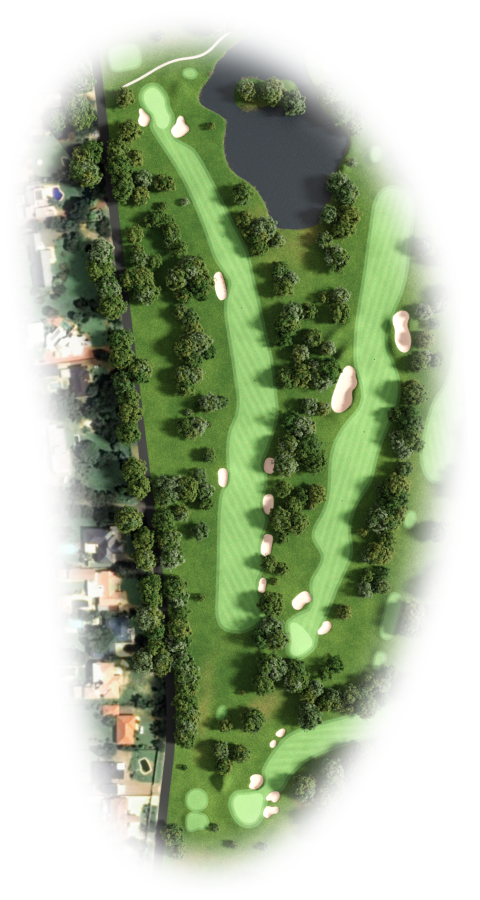
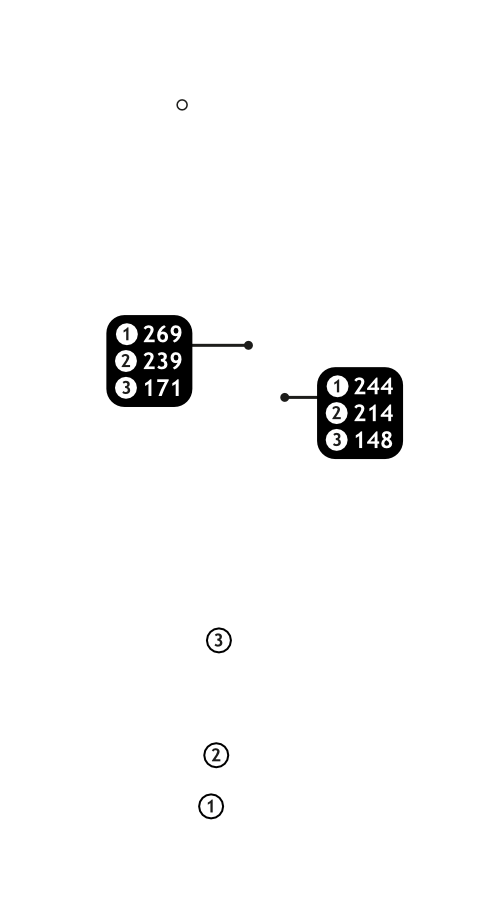
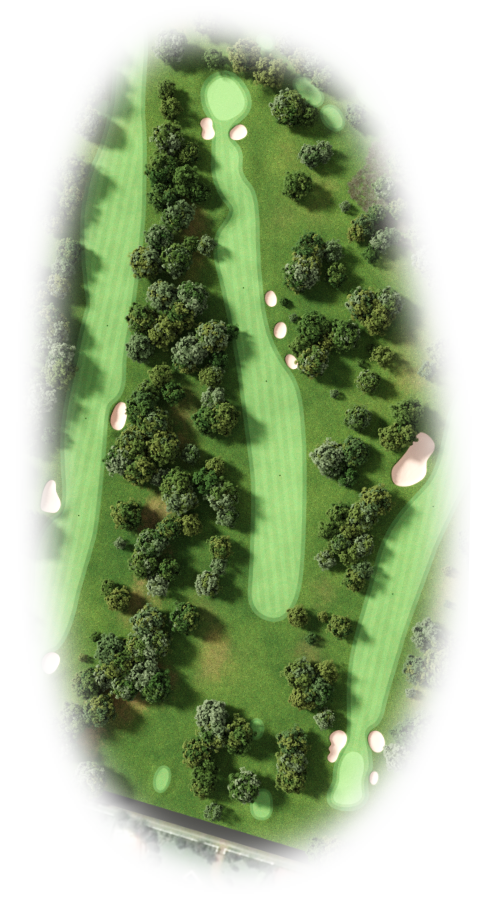
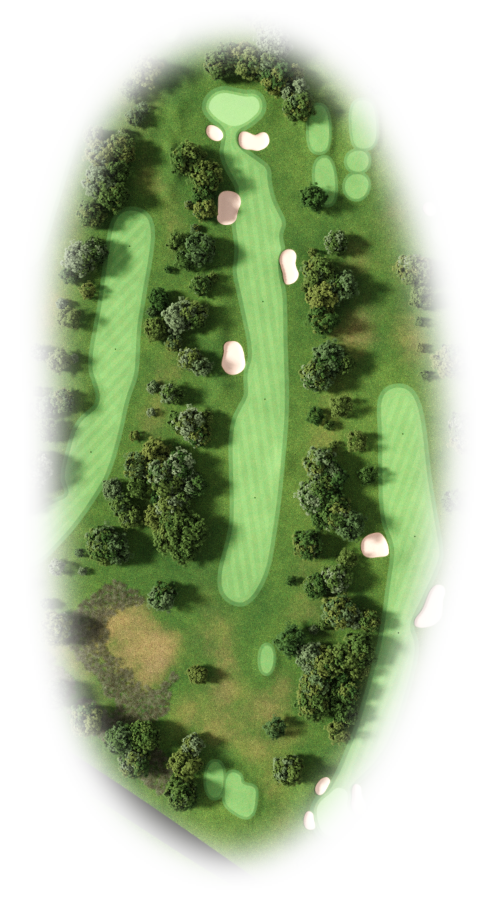
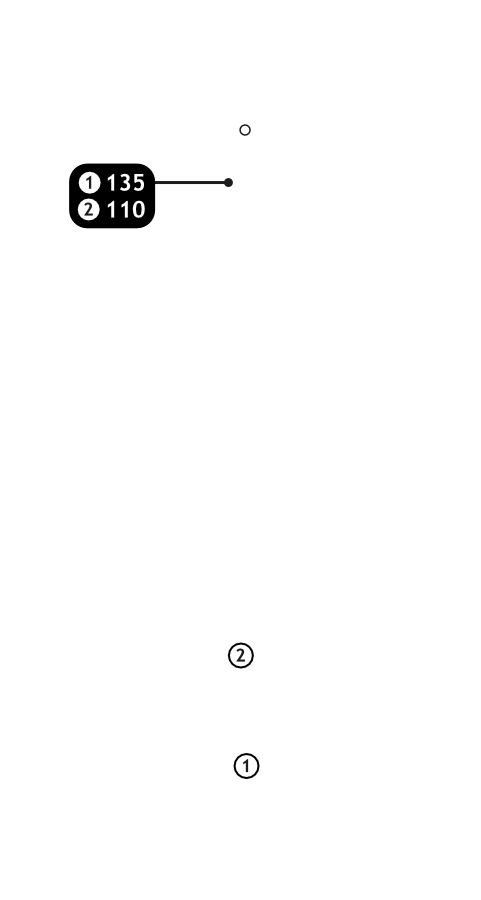
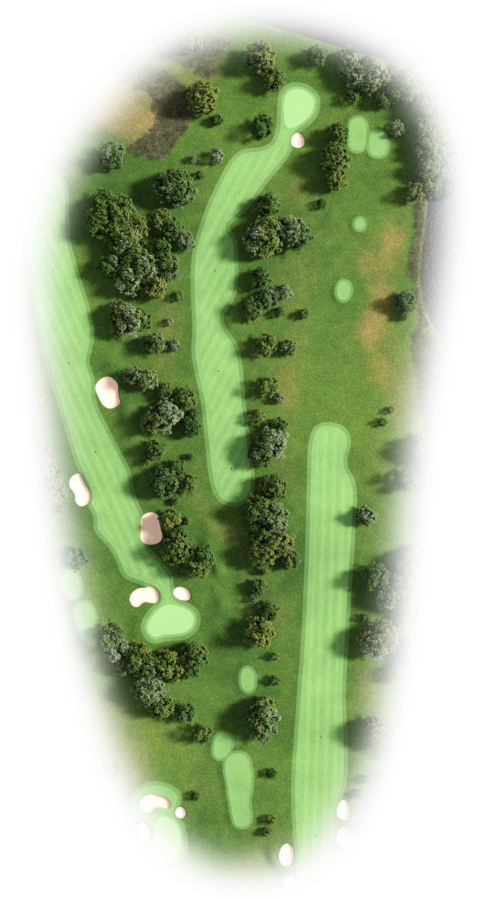
The preferred tee shot is a slight right to left, leaving a medium iron to a green well protected by a trap front left.
3 |
|
||||||||
|
|
Buttons toggle between distance guide and media. See hole layout for result. If available, click icons to view media.
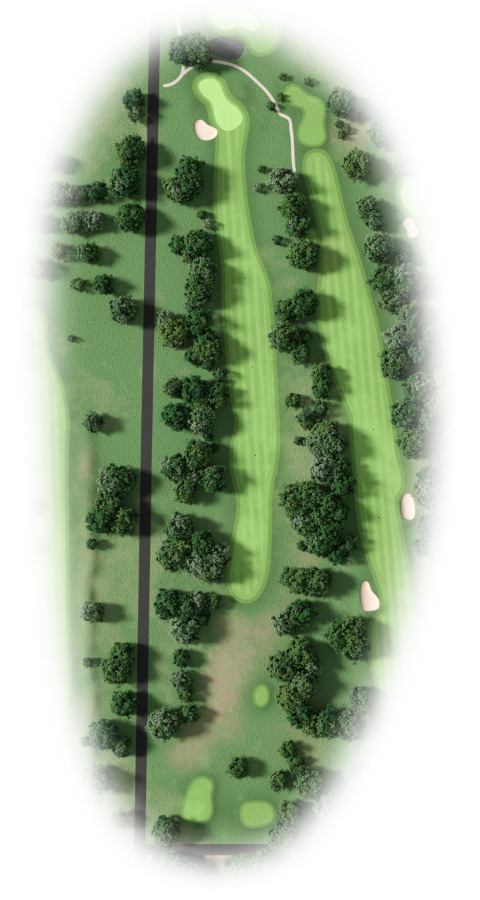
A monster drive will leave you a long second shot over the trees to a small green, well bunkered in the front. The safer play is into the corner leaving an easy wedge into the green.
4 |
|
||||||||
|
|
Buttons toggle between distance guide and media. See hole layout for result. If available, click icons to view media.
Two straight shots will leave most players a medium iron to short wedge approach into a green well bunkered and mounded. Only the brave should attempt to get home in two.
5 |
|
||||||||
|
|
Buttons toggle between distance guide and media. See hole layout for result. If available, click icons to view media.
A medium iron or lofted hybrid will see you onto a wide green, protected by two front traps. Avoid going over the back of the green.
6 |
|
||||||||
|
|
Buttons toggle between distance guide and media. See hole layout for result. If available, click icons to view media.
Avoiding the two large fairway bunkers will leave you with a long to medium approach to a big green, protected front right by a deep trap. An approach short left of the green will leave an easy chip to any pin placement.
7 |
|
||||||||
|
|
Buttons toggle between distance guide and media. See hole layout for result. If available, click icons to view media.
A tee shot down the right side of the fairway avoiding the large fairway bunker, will leave a long to medium approach to a long narrow green, well protected by three traps. The long hitter can take on the trees on the corner of the dog leg, at his peril.
8 |
|
||||||||
|
|
Buttons toggle between distance guide and media. See hole layout for result. If available, click icons to view media.
A lay up tee shot avoiding the bunkers right will leave a medium to short iron to a green well bunkered in the front. The player hitting driver will be left with a short wedge, setting up a good birdie chance.
9 |
|
||||||||
|
|
Buttons toggle between distance guide and media. See hole layout for result. If available, click icons to view media.
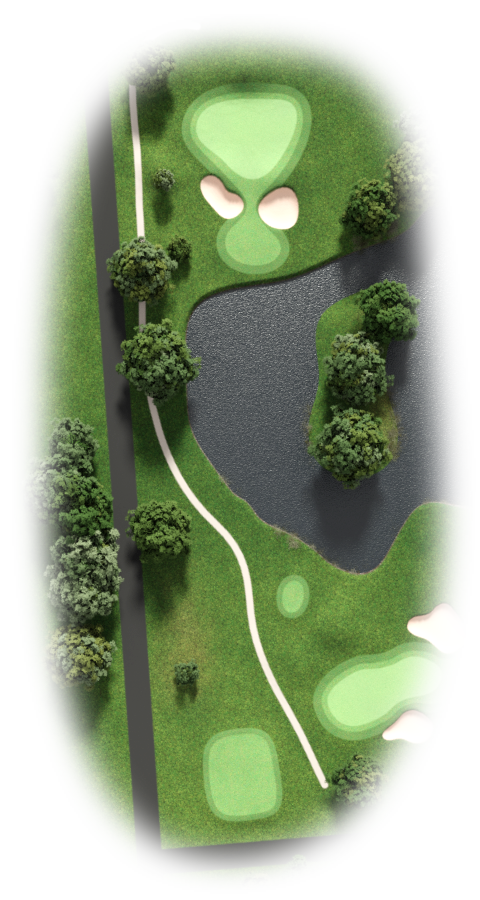
A slightly downward tee shot with a long iron or hybrid to a long green, protected by a pond left and a sand trap right.The safe shot is to play short of the green, leaving an easy chip and putt for par.
10 |
|
||||||||
|
|
Buttons toggle between distance guide and media. See hole layout for result. If available, click icons to view media.
This is a great opportunity for birdie. The ideal tee shot is down the right side of the fairway which opens up the green. The green behind the left bunker slopes drastically left to right... beware.
11 |
|
||||||||
|
|
Buttons toggle between distance guide and media. See hole layout for result. If available, click icons to view media.
The average hitter should lay up short of the left fairway bunker. The longer hitter can take on the right fairway bunker, avoiding the trees on the right. The green is protected by a trap left and right. Avoid going over the back of the green.
12 |
|
||||||||
|
|
Buttons toggle between distance guide and media. See hole layout for result. If available, click icons to view media.
Avoid the bunkers left and right at all costs. The ideal lay up is short of the right bunker with a fairway wood or hybrid, leaving a short iron into a narrow green guarded by traps left and right in front.
13 |
|
||||||||
|
|
Buttons toggle between distance guide and media. See hole layout for result. If available, click icons to view media.
A medium to short iron is all that is required to find the fairly narrow green, guarded by deep traps left and in front, and a well placed trap on the right.
14 |
|
||||||||
|
|
Buttons toggle between distance guide and media. See hole layout for result. If available, click icons to view media.
The ideal line off the tee is up the left side of the fairway with a 3 wood or hybrid, leaving a medium iron to a slightly raised green with a severe slope back right. A small trap guards the front right of the green.
15 |
|
||||||||
|
|
Buttons toggle between distance guide and media. See hole layout for result. If available, click icons to view media.
Two monster shots are needed to reach this well protected green in two. The ideal line is up the right side of the fairway and then playing over the right edge of the left fairway bunker leaving an approach with a wedge or short iron. Par is good on this man size par 5.
16 |
|
||||||||
|
|
Buttons toggle between distance guide and media. See hole layout for result. If available, click icons to view media.
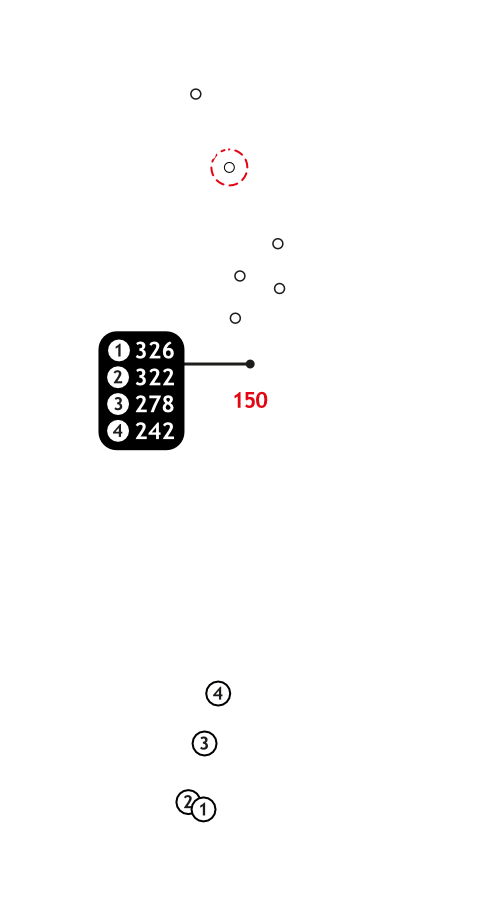
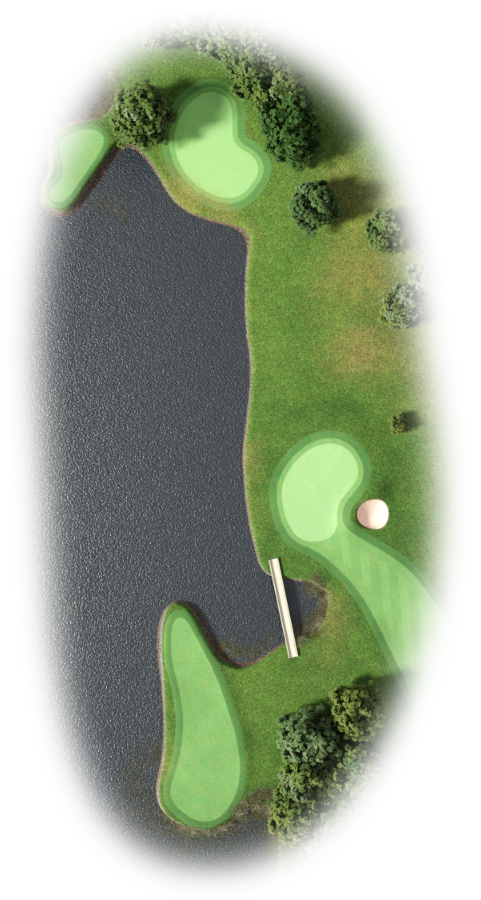
All players reaching this green in regula- tion and scoring par, will be extremely satisfied. For most this hole requires a long iron or hybrid to carry the lake and find the green. The safe play is to the right of the green, leaving a comfortable chip and putt for par. A forward drop zone (1 shot penalty) is provided for those not able to carry the water.
17 |
|
||||||||
|
|
Buttons toggle between distance guide and media. See hole layout for result. If available, click icons to view media.
The ideal tee shot is into the corner of the dog leg, leaving a mid iron to a green protected both sides by sand traps. If attempting to carry the corner, avoid the hazard on the left side.
18 |
|
||||||||
|
|
Buttons toggle between distance guide and media. See hole layout for result. If available, click icons to view media.
Short of the fairway bunker is the ideal line off the tee, which should leave a short iron to a green protected by trees short of the green, and a pond left of the green.