1 |
|
||||||||
|
|
Buttons toggle between distance guide and media. See hole layout for result. If available, click icons to view media.
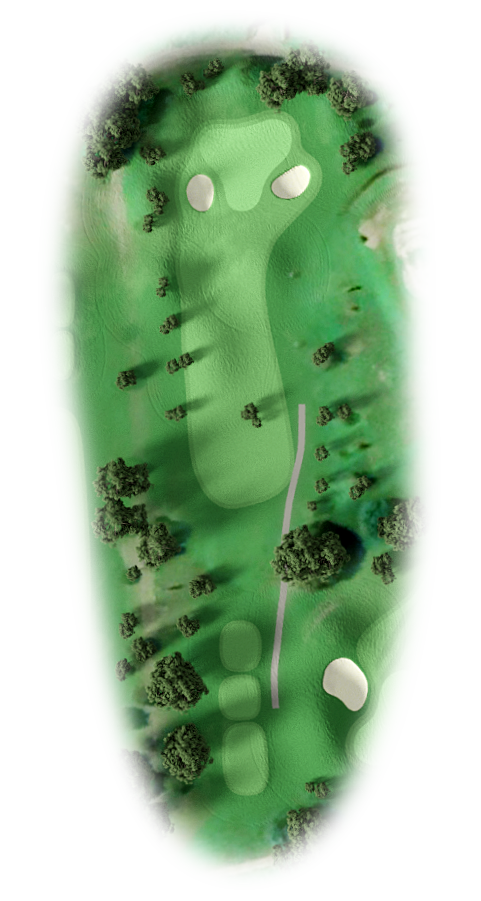
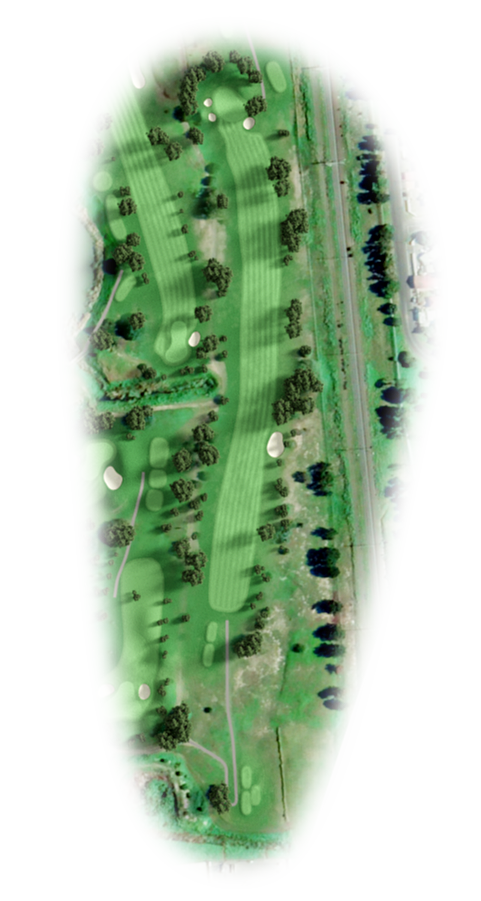
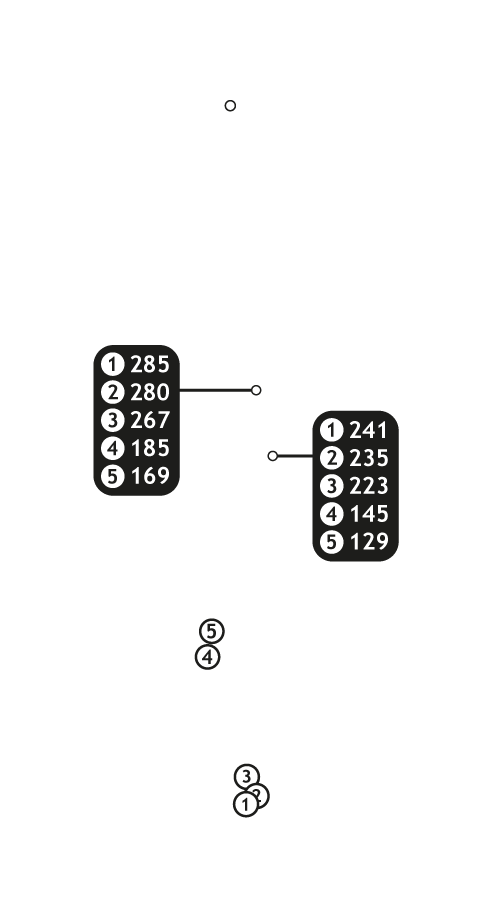
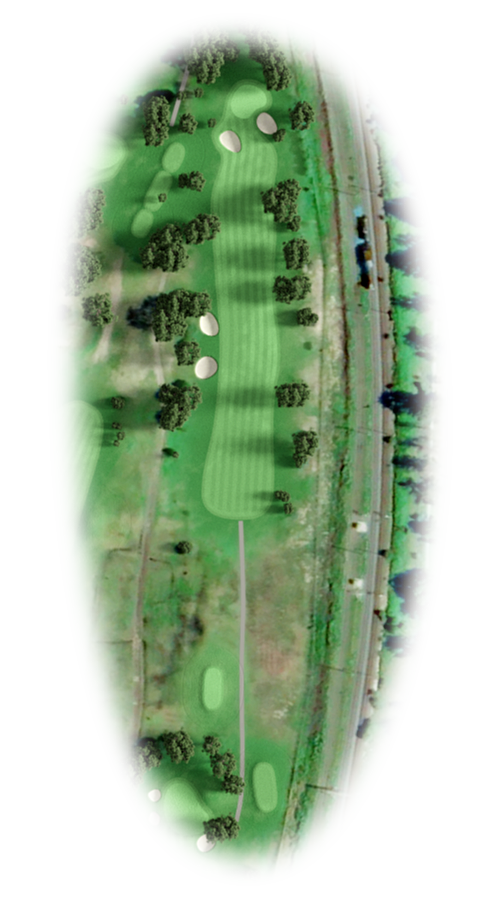
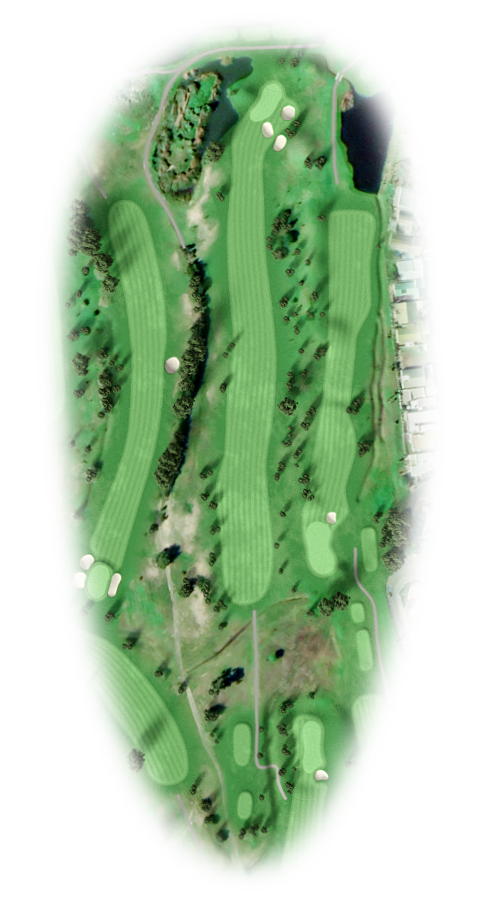
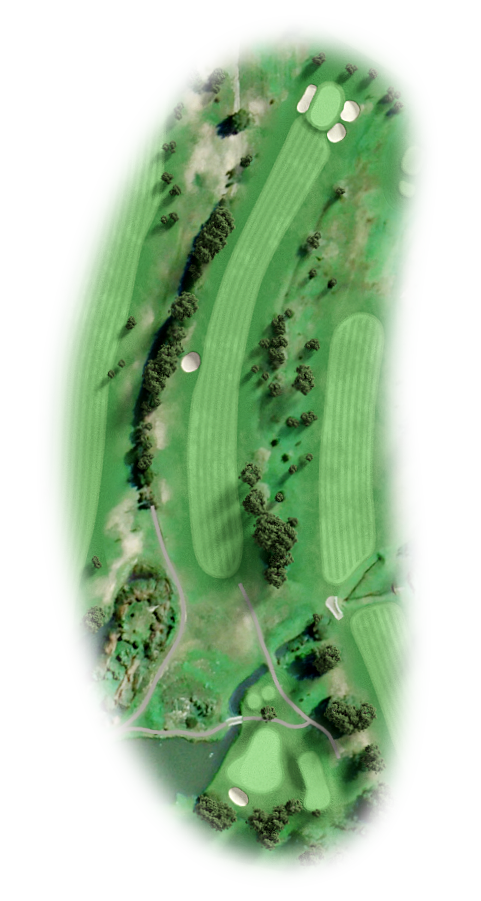
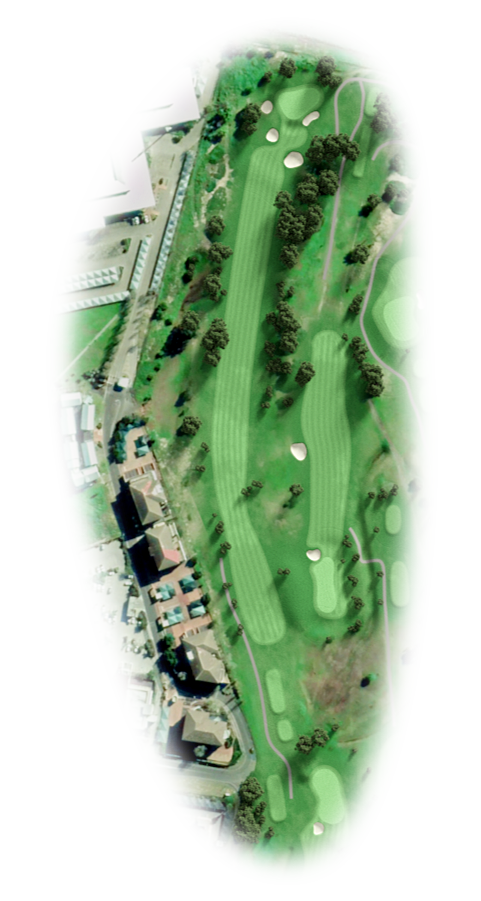
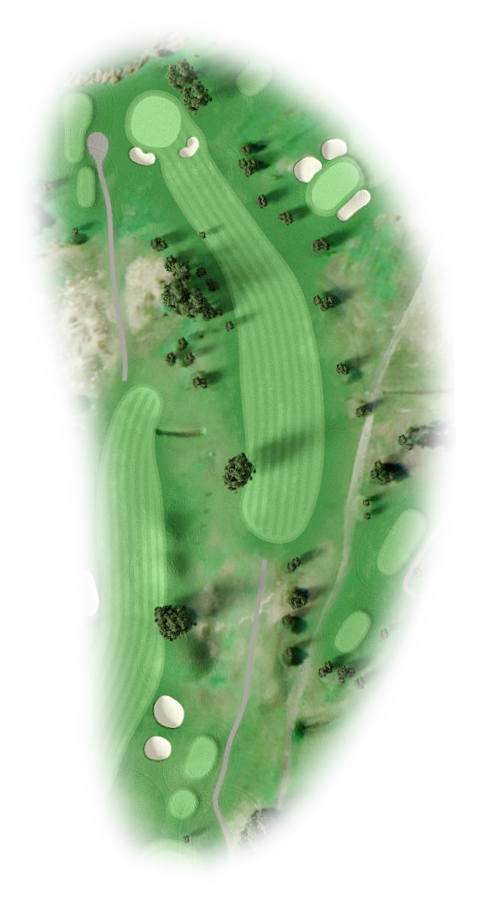
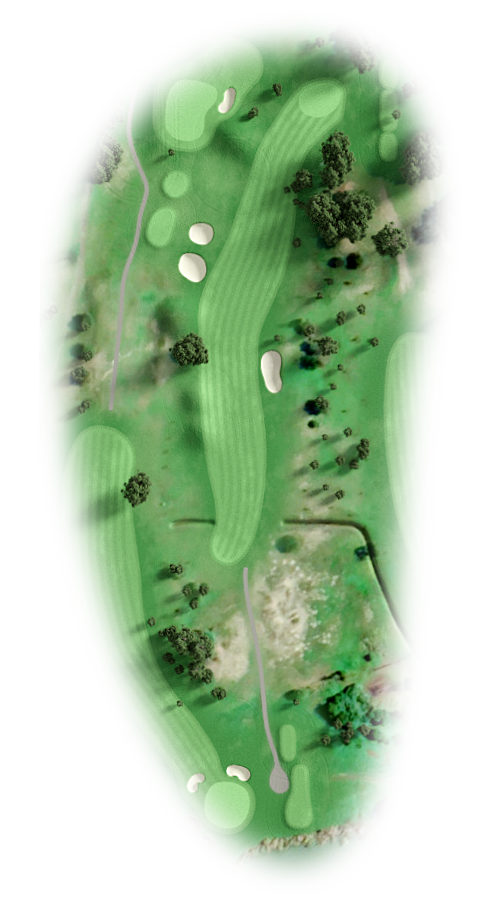
Trees guard both sides of the fairway, but a straight drive leaves just a 7 or 8 iron in to the green where the pin placing can be very tricky. Again a relatively easy hole when the prevailing south-easter blows, but a terror when the north-west is operating.


2 |
|
||||||||
|
|
Buttons toggle between distance guide and media. See hole layout for result. If available, click icons to view media.
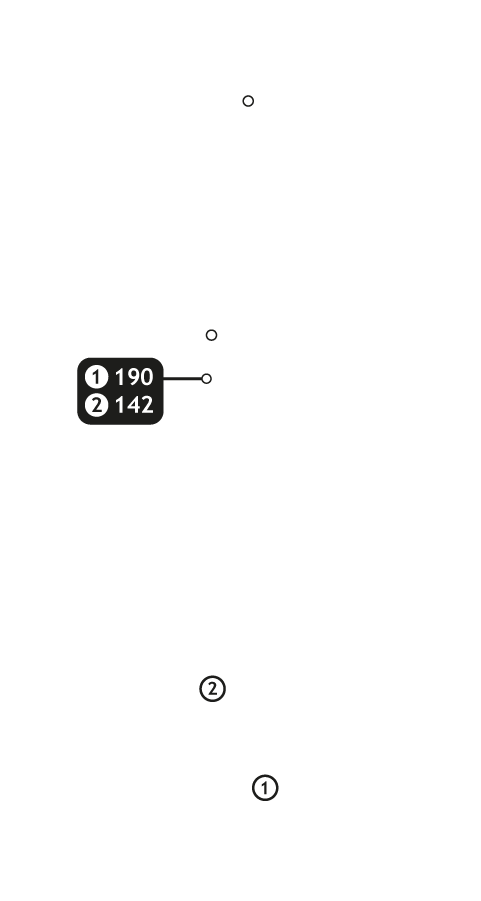
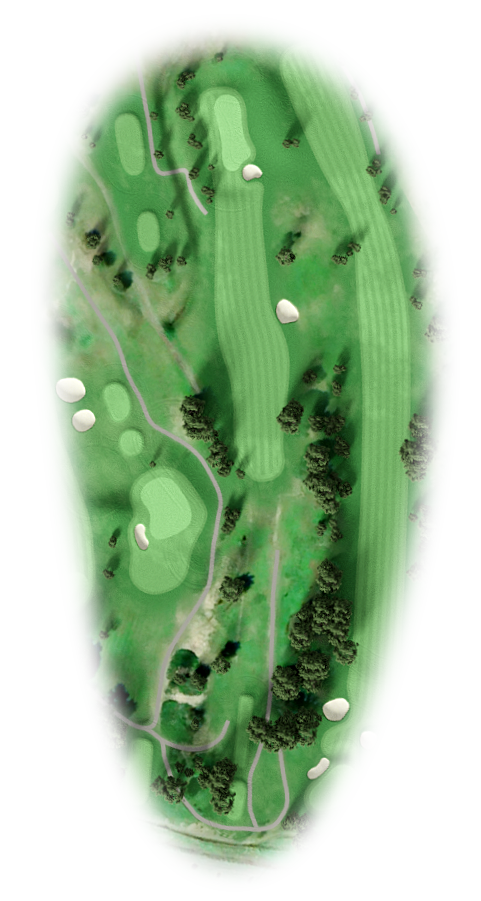
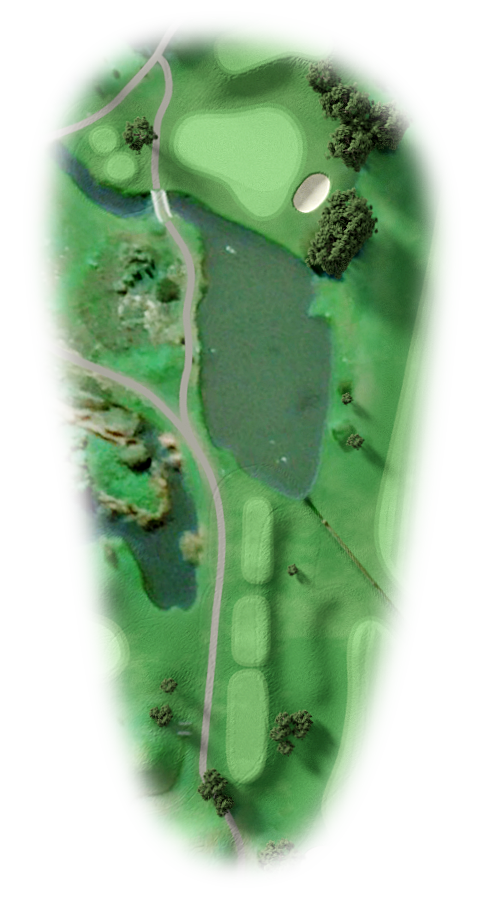
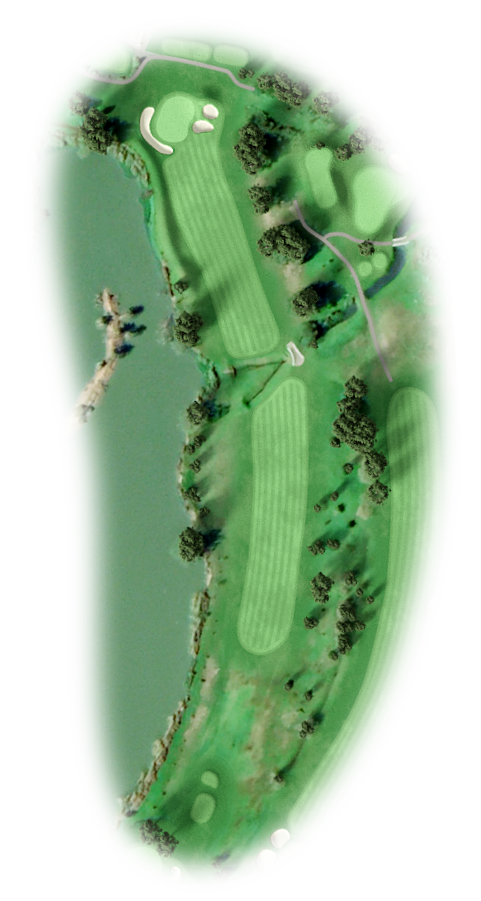
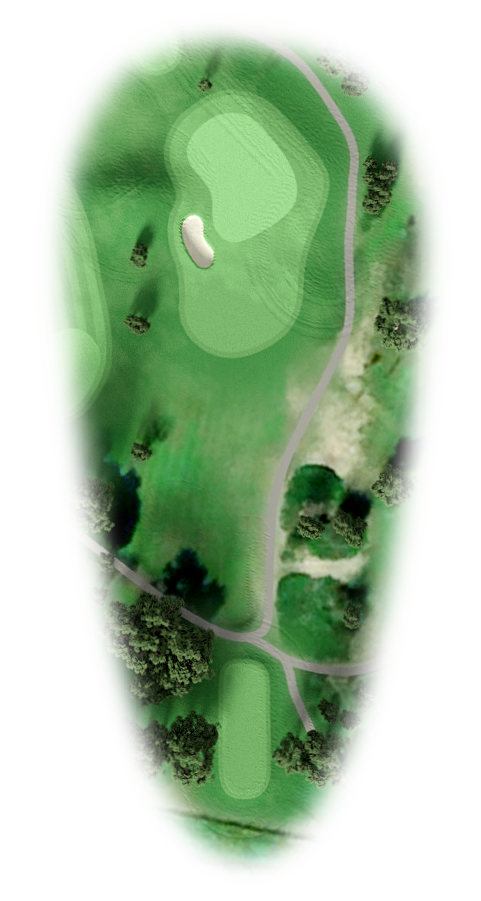
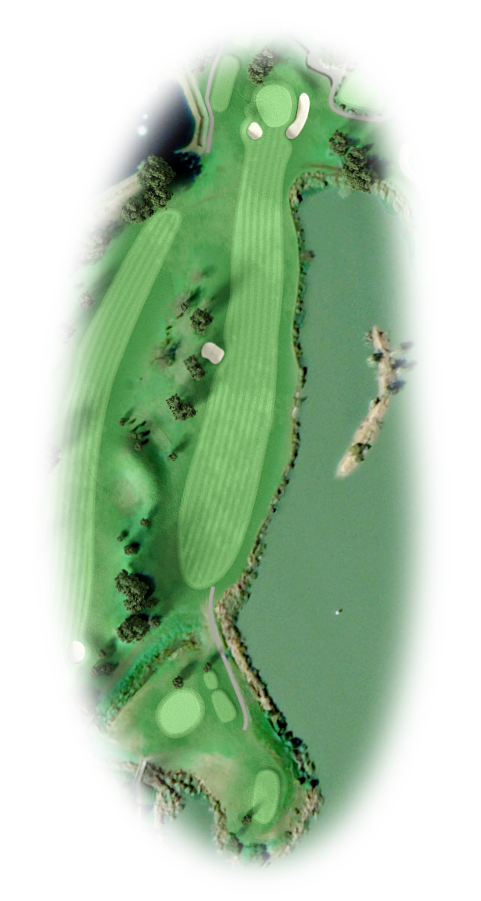
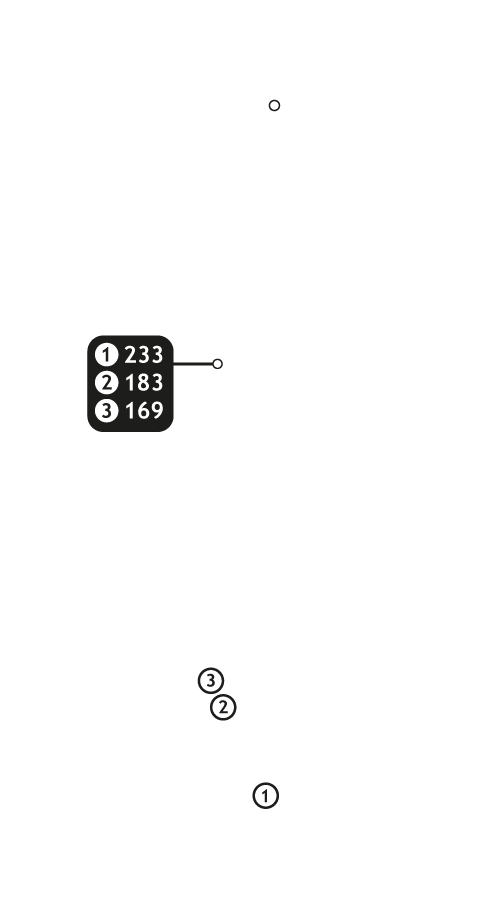
Longest par 3 on the course at 173 metres. Pretty straightforward but in the south- easter a driver could be required to reach the green!
3 |
|
||||||||
|
|
Buttons toggle between distance guide and media. See hole layout for result. If available, click icons to view media.
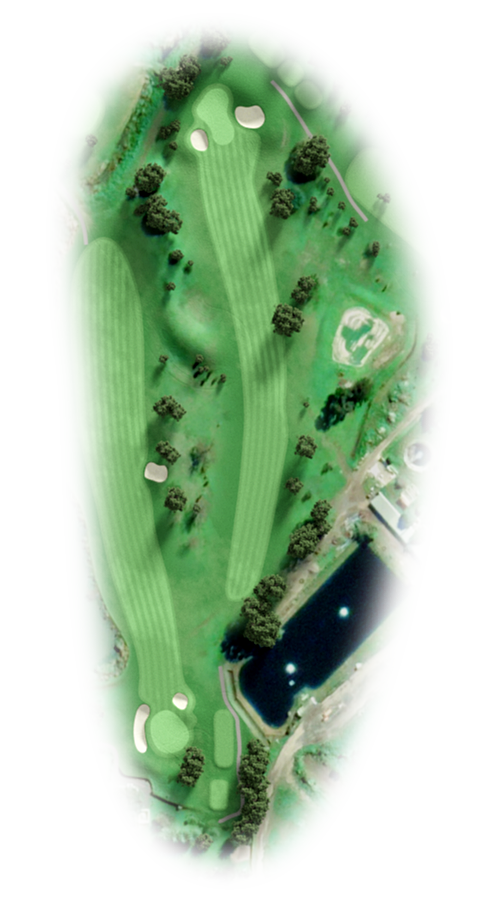
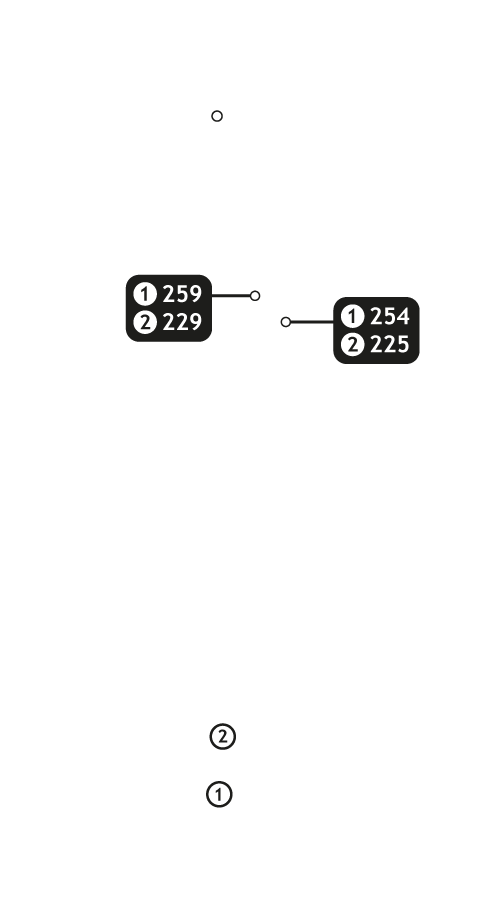
Not an easy hole, and beware the railway-line along the right-hand side where the prevailing wind will assist a fade over the fence. Large blue-gum trees guard the approach to the green and the double tier on the green makes putting risky. Most players will find the stroke suspiciously high on this hole!
4 |
|
||||||||
|
|
Buttons toggle between distance guide and media. See hole layout for result. If available, click icons to view media.
A short par 4 gives little warning of the inherent difficulties of this charming hole. If you crest the hill you have a wedge or sand-wedge in, but if you are short of the crest, you face a blind shot to the green, which is small and tricky. A fade on the driver can see your ball having to dodge an on-coming Rovos Rail Express.
5 |
|
||||||||
|
|
Buttons toggle between distance guide and media. See hole layout for result. If available, click icons to view media.
Here we have one of only two blind drives on the course. Aim for the big fir tree on the right and draw left slightly. With the north-west behind you, the long hitters can reach the green but as it’s shape reminds you of a humpback whale, staying on is another question. In to the south-easter you are faced with a five or three wood for your second shot.
6 |
|
||||||||
|
|
Buttons toggle between distance guide and media. See hole layout for result. If available, click icons to view media.
The second blind drive over a hill and straight in to the south-easter makes this par 5 a monster of a hole, and even the broad fairway and forgiving semi-rough does not make it any friendlier, with water on the left and bunkers on the right hand side of the green. Again, with a north-western wind the hole turns into a kitten, with many birdies and eagles being recorded.
7 |
|
||||||||
|
|
Buttons toggle between distance guide and media. See hole layout for result. If available, click icons to view media.
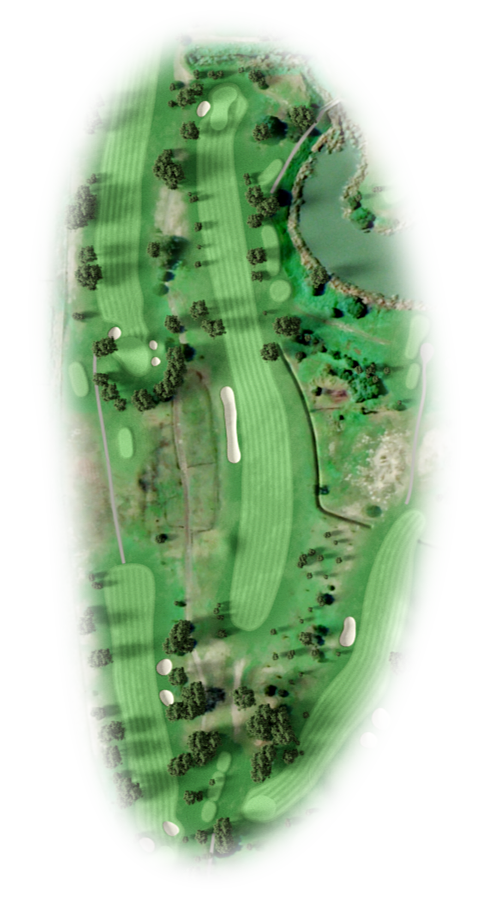
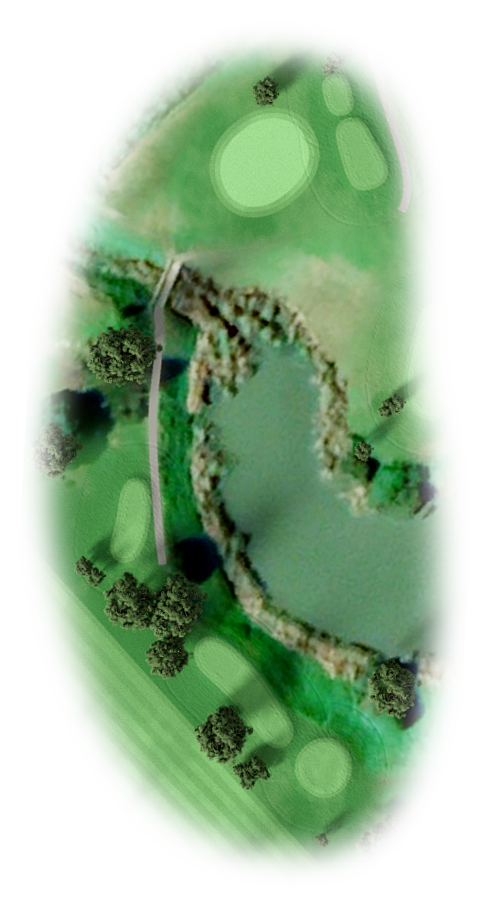
The feature hole of the course. A charmer over water with a huge green and a forgiving upward sloping hill behind the green. Takes some carry over the dam to reach the green, and some of the older golfers lay up on the right hand side to avoid a splash, Delightful fynbos area to the left before the bridge spanning the dam. Spectacular view of the mountain from the green looking back to the tee-box.
8 |
|
||||||||
|
|
Buttons toggle between distance guide and media. See hole layout for result. If available, click icons to view media.
Fully deserving of it’s stroke 3 rating, this is one of the more difficult par 4’s on the course, even though it normally plays with the south-easter at your back. A dogleg to the right. Built-up green with bunkers on either side makes approach tricky to say the least.
9 |
|
||||||||
|
|
Buttons toggle between distance guide and media. See hole layout for result. If available, click icons to view media.
This is also a memorable hole. A wide double ditch runs across the fairway, which forces you to think about your drive. With the north-wester the young guns can carry the ditch, cutting the corner of the dam on the left, but even they have to lay up facing the prevailing south-easter. Hooking on this hole takes you for a swim!
10 |
|
||||||||
|
|
Buttons toggle between distance guide and media. See hole layout for result. If available, click icons to view media.
A straightforward opening hole with a concrete ditch crossing the fairway just where the longer drivers might find trouble. A dam on the right hand side for those who fade.
11 |
|
||||||||
|
|
Buttons toggle between distance guide and media. See hole layout for result. If available, click icons to view media.
Drive over a dam (carry about 100 metres) towards the green. Easy hole when the south-easter blows, but beware the north-wester – can be very long. Huge green can leave you with 40 metre putt.
12 |
|
||||||||
|
|
Buttons toggle between distance guide and media. See hole layout for result. If available, click icons to view media.
Long carry to reach the fairway – dogleg to the right with trees guarding the approach. Five bunkers guard the green and tricky slopes can cause three-putts.
13 |
|
||||||||
|
|
Buttons toggle between distance guide and media. See hole layout for result. If available, click icons to view media.
Supposedly one of the easiest holes on the course but the south easter can make you use a three wood to carry the plus minus 130 metres to the flag! The huge green and double slopes makes putting tricky.
14 |
|
||||||||
|
|
Buttons toggle between distance guide and media. See hole layout for result. If available, click icons to view media.
Definitely the one par 4 where the long hitters can drive the green. Dogleg to the left and large bunkers guarding the green with water directly behind the hole. Takes courage to go for the green.
15 |
|
||||||||
|
|
Buttons toggle between distance guide and media. See hole layout for result. If available, click icons to view media.
Normally down-wind but bunkers flank the fairway. Huge fir tree guards the green making approach from the right-hand side tricky. Smallish green with thick semi-rough takes care of the Texas wedge specialists.
16 |
|
||||||||
|
|
Buttons toggle between distance guide and media. See hole layout for result. If available, click icons to view media.
Beautiful hole with a huge bunker guarding the left hand side of the fairway (in driving distance). Three-tiered green with severe slopes and two bunkers guarding. Produces most of the eagles recorded on the course (especially with the northerly wind blowing).
17 |
|
||||||||
|
|
Buttons toggle between distance guide and media. See hole layout for result. If available, click icons to view media.
A spectacular par 3 over water straight in to the south-easter. Causes havoc with drives as there is a steep embankment behind the green. Straight hitting imperative.
18 |
|
||||||||
|
|
Buttons toggle between distance guide and media. See hole layout for result. If available, click icons to view media.
Another intimidating drive partly over water where fading is simply not on. Again directly in to the south easter. When the north wind blows it turns in to a pussycat, but if you fade you go in to the dam.