1 |
|
||||||||
|
|
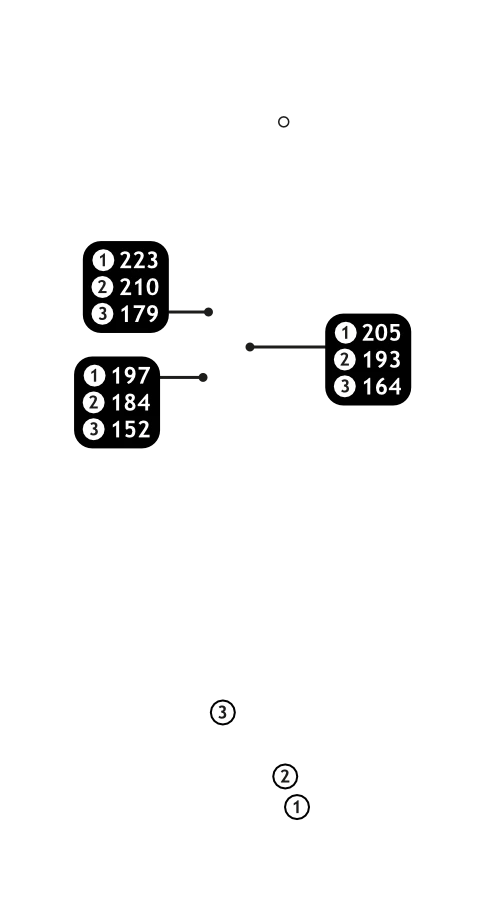
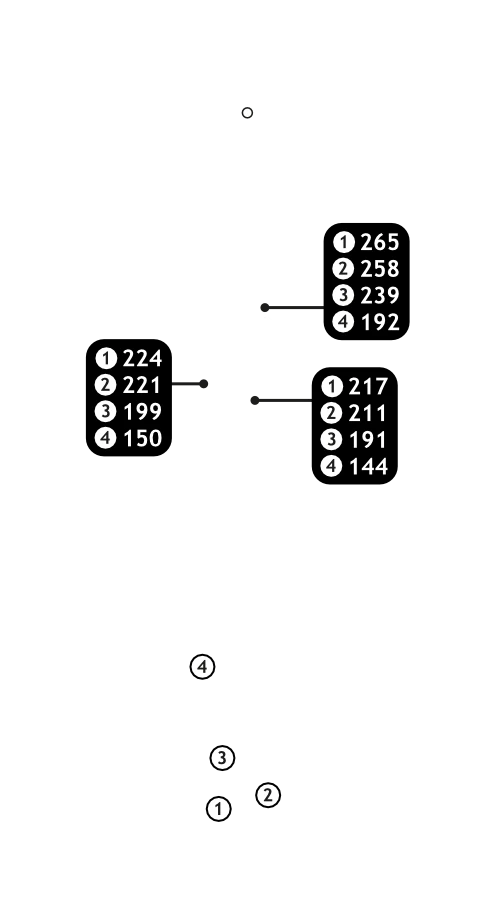
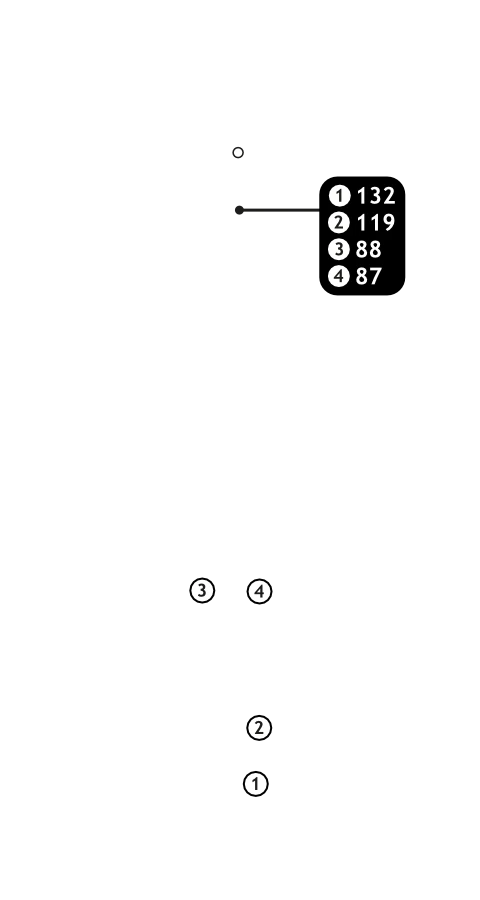
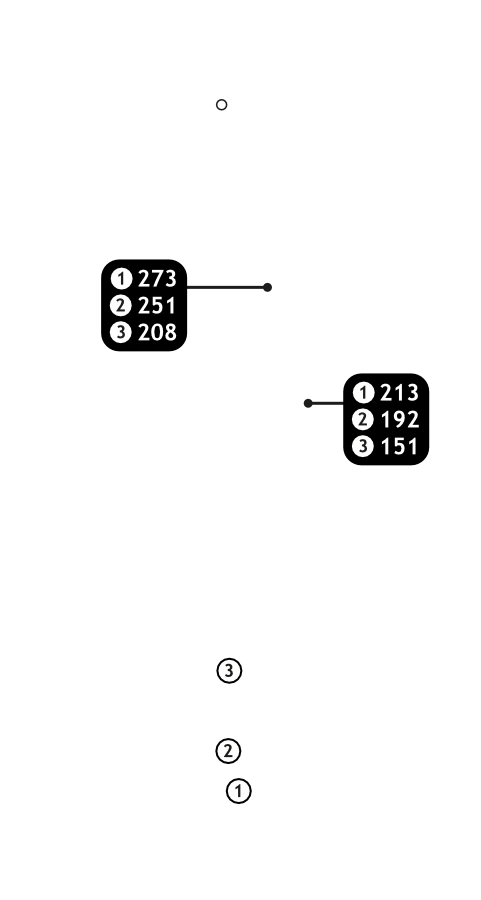
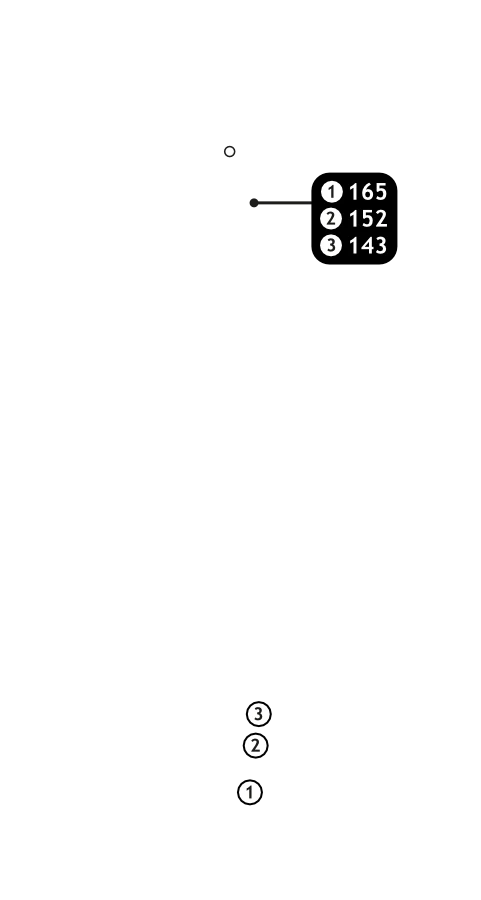
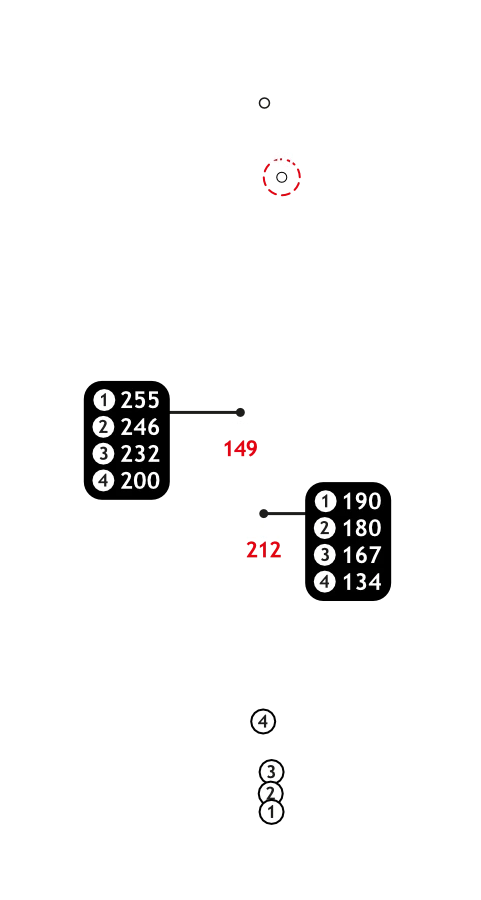
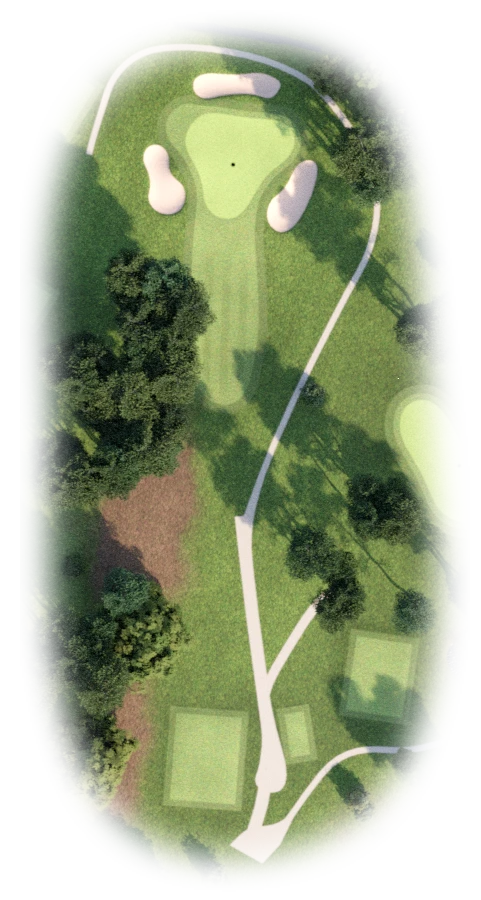
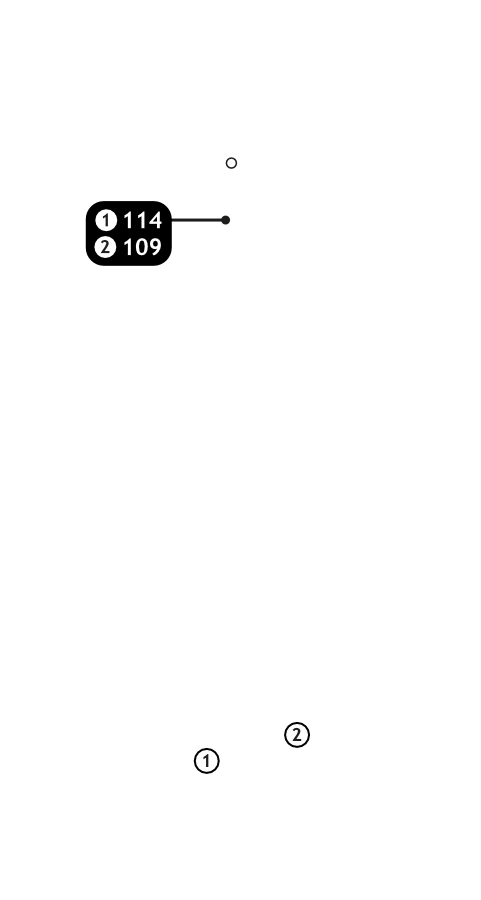
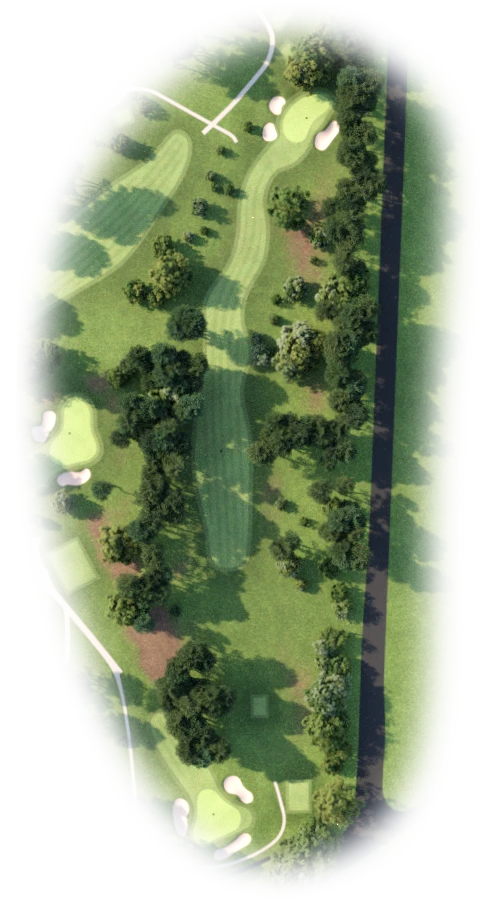
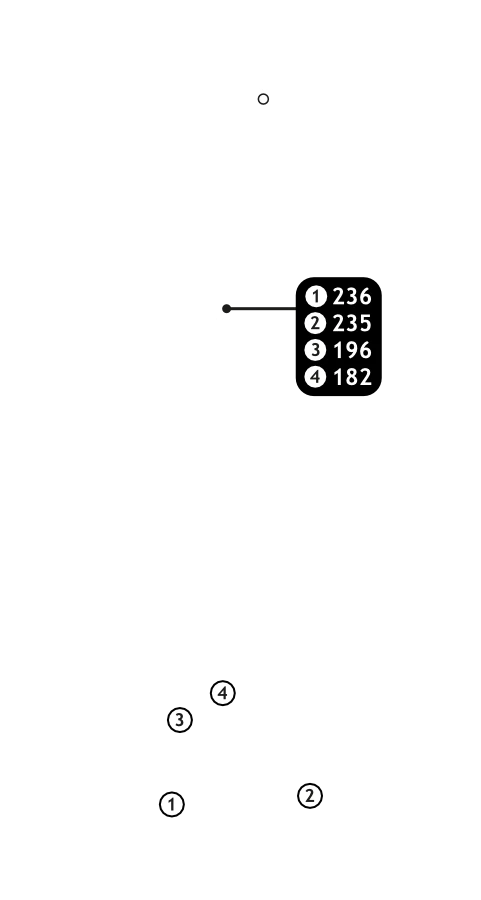
Buttons toggle between distance guide and media. See hole layout for result. If available, click orange icons to view media. All distances measured in meters from middle of Tee.
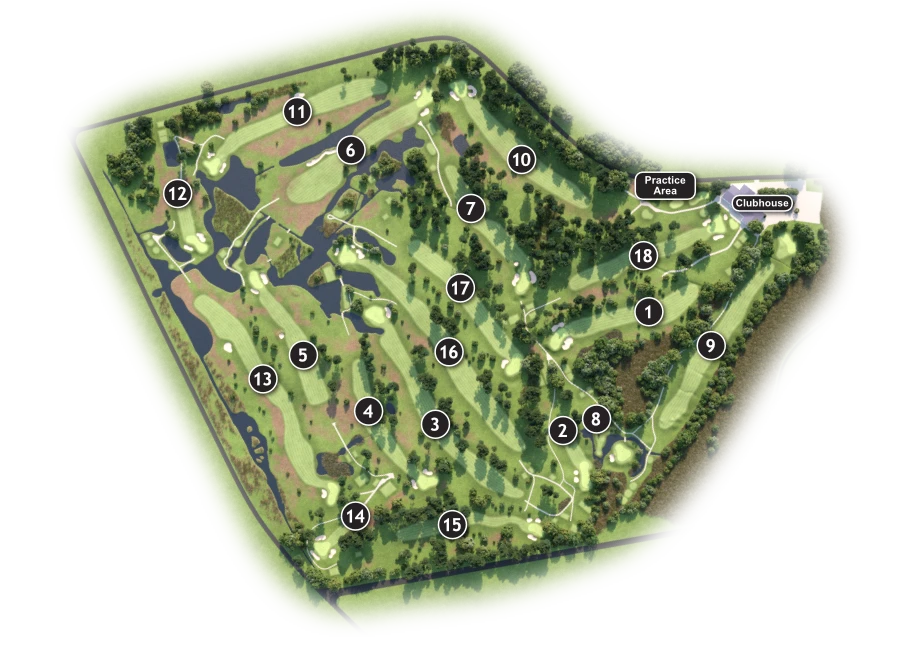
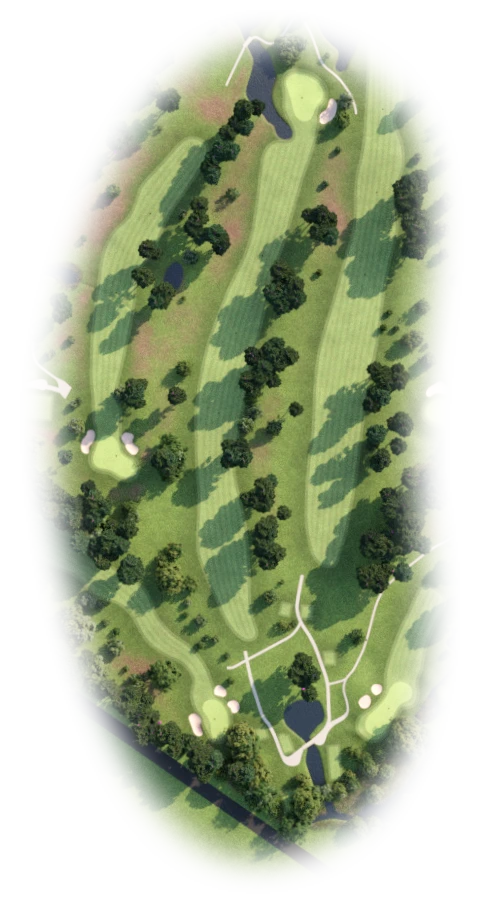
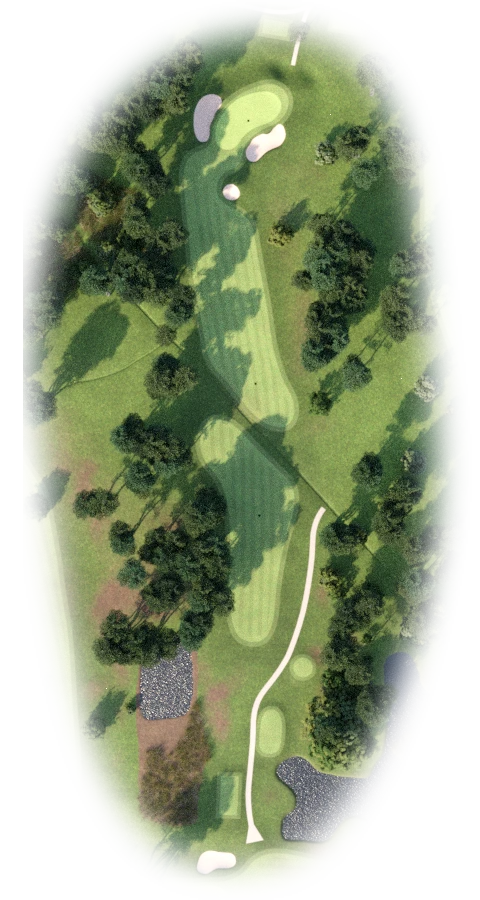
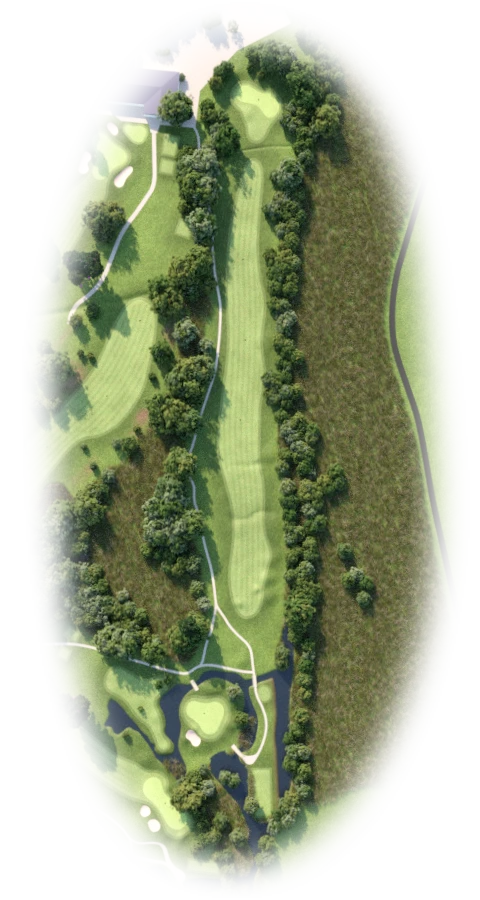
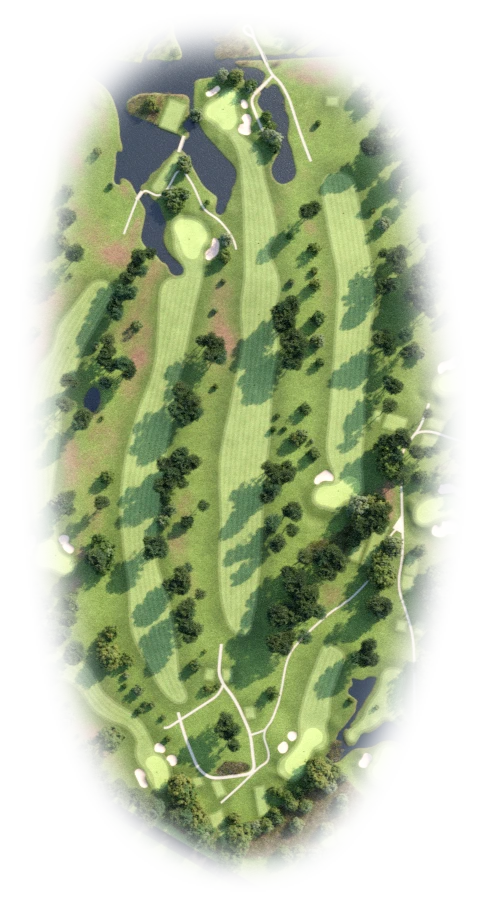
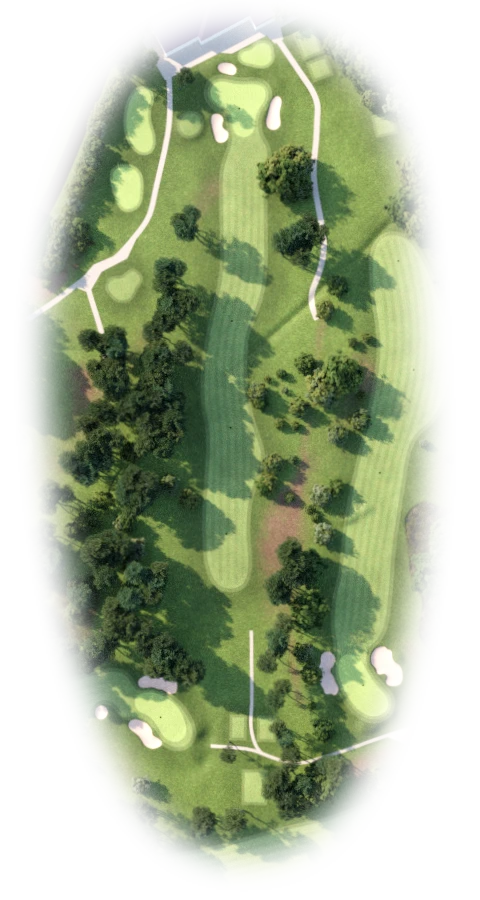
The 1st hole is a double dog-leg par-4 and index 7 on the card. The longer hitters will aim their tee shot over the trees on the right and avoid the water hazard to the left of the fairway. The green is angled front right to back left making a back red pin location difficult to get at over a deep green-side bunker.

2 |
|
||||||||
|
|
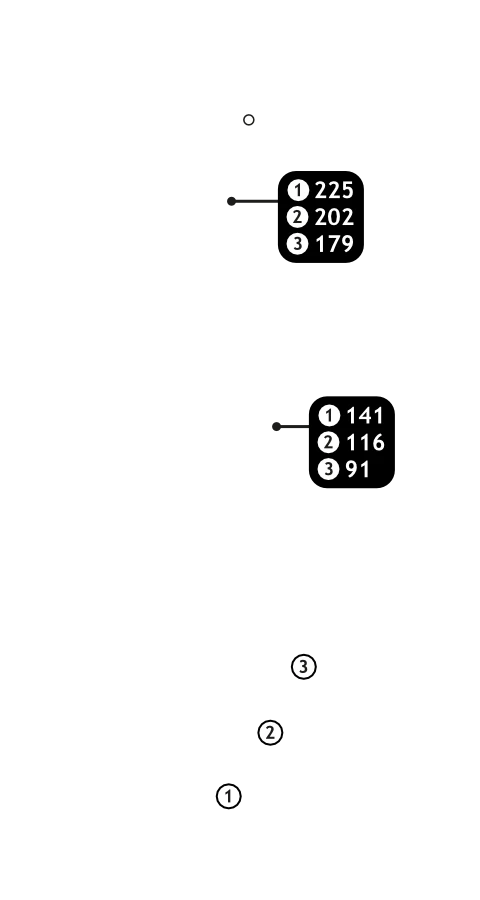
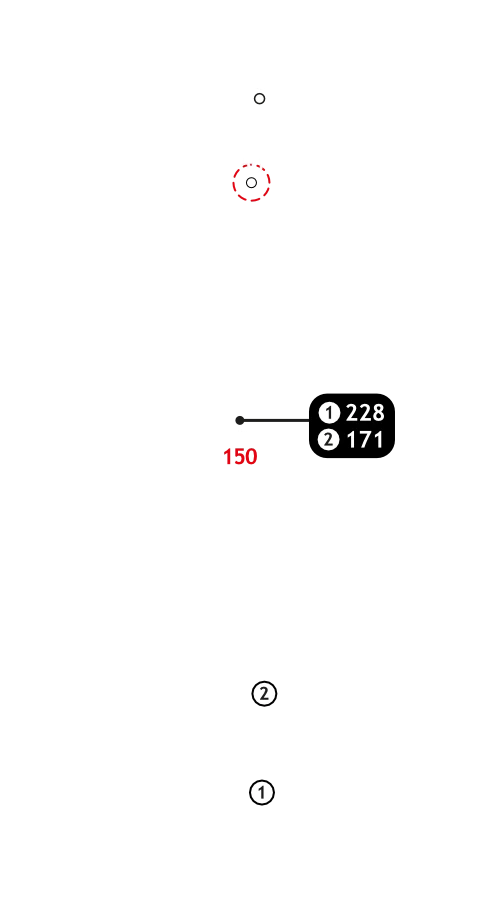
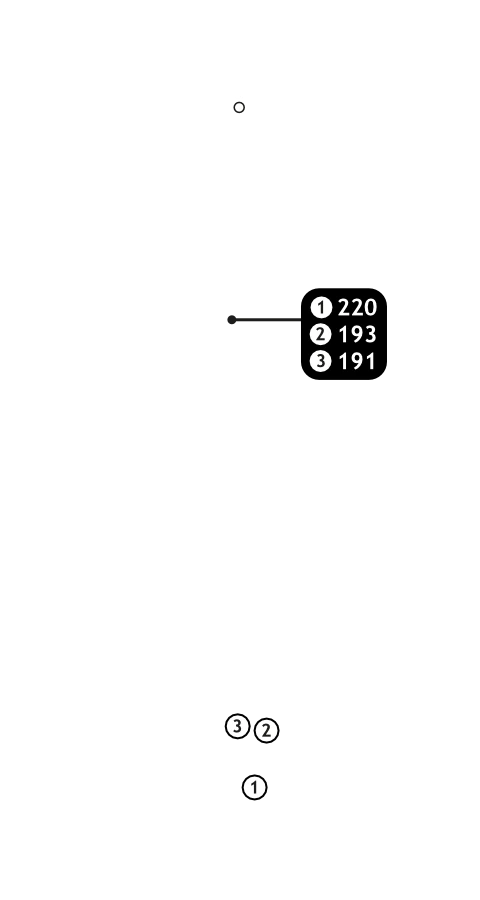
Buttons toggle between distance guide and media. See hole layout for result. If available, click orange icons to view media. All distances measured in meters from middle of Tee.
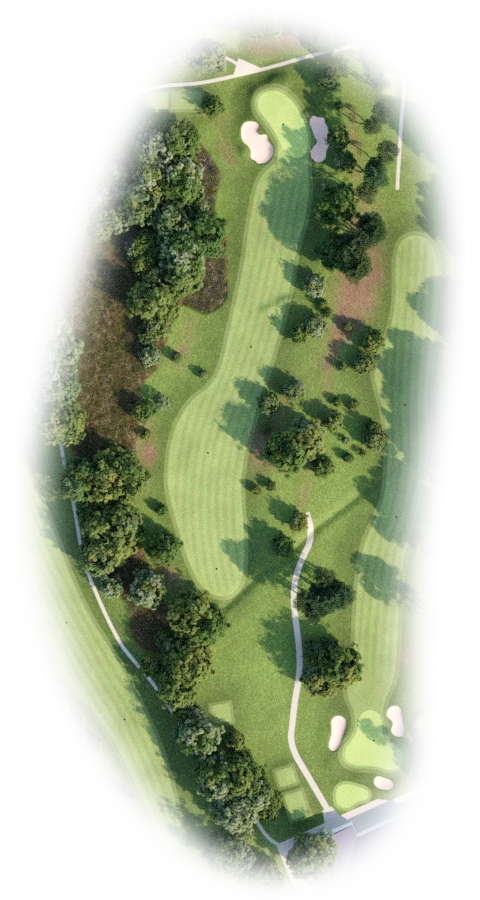
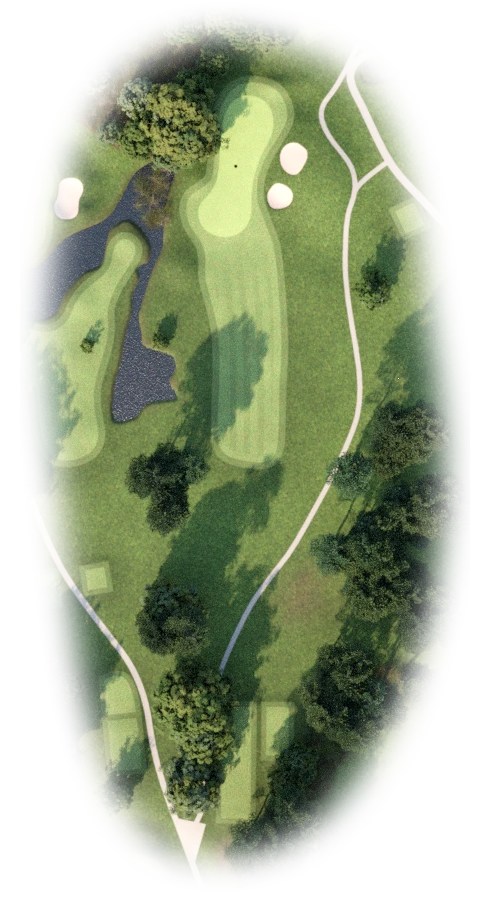
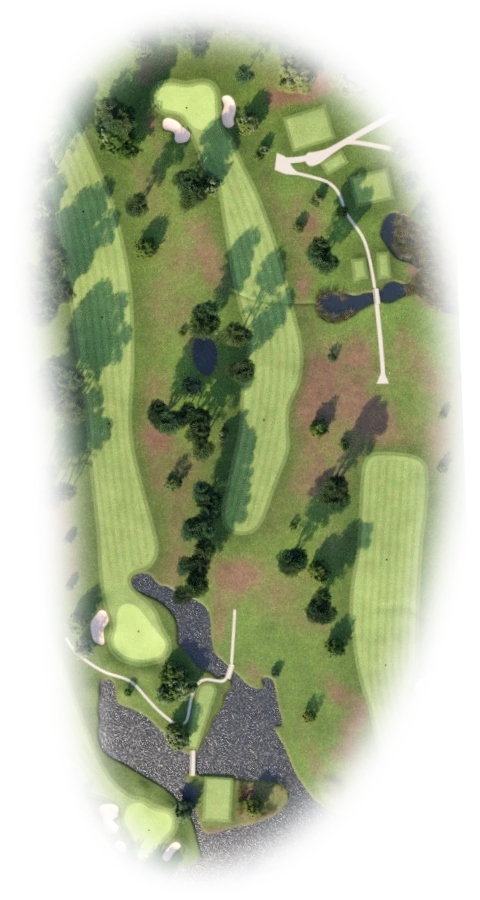
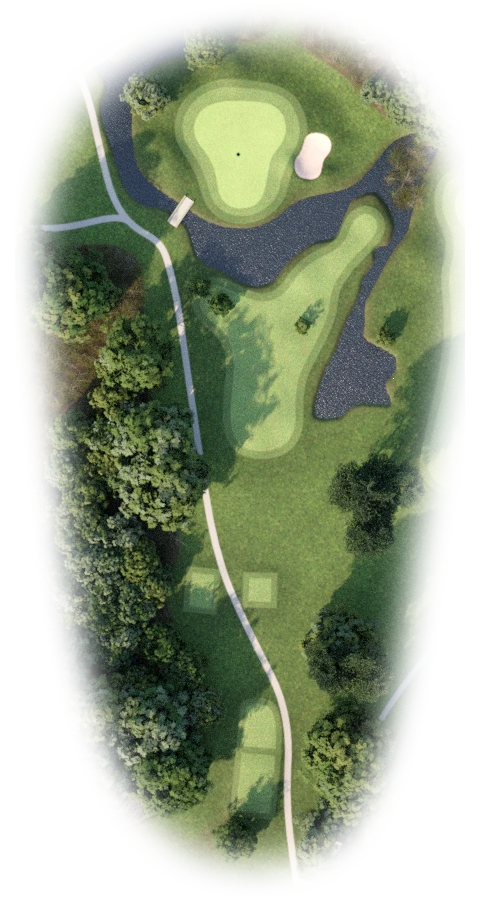
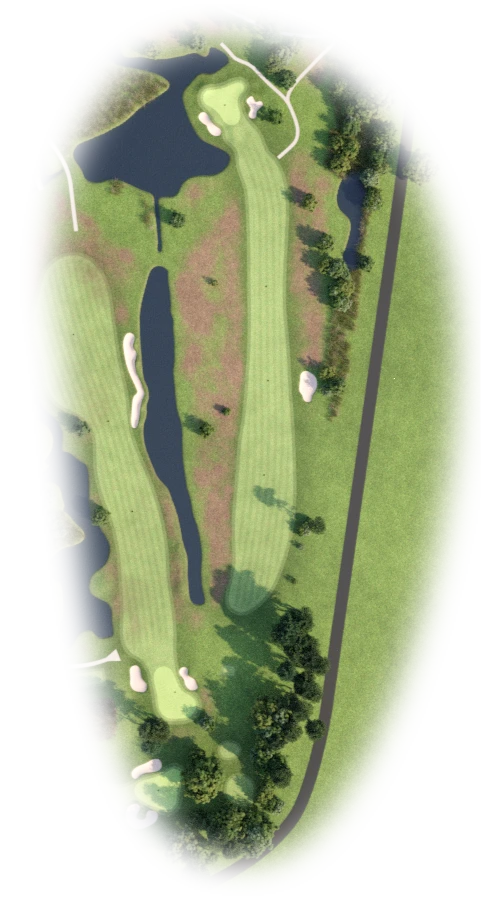
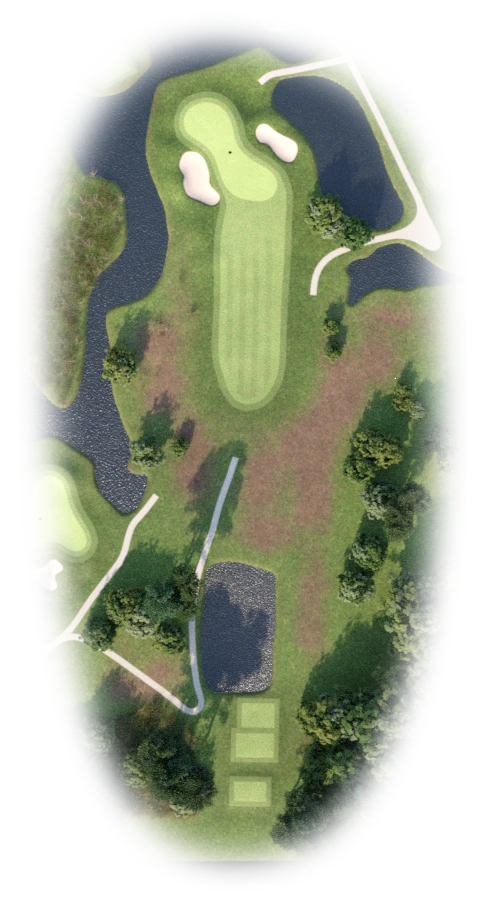
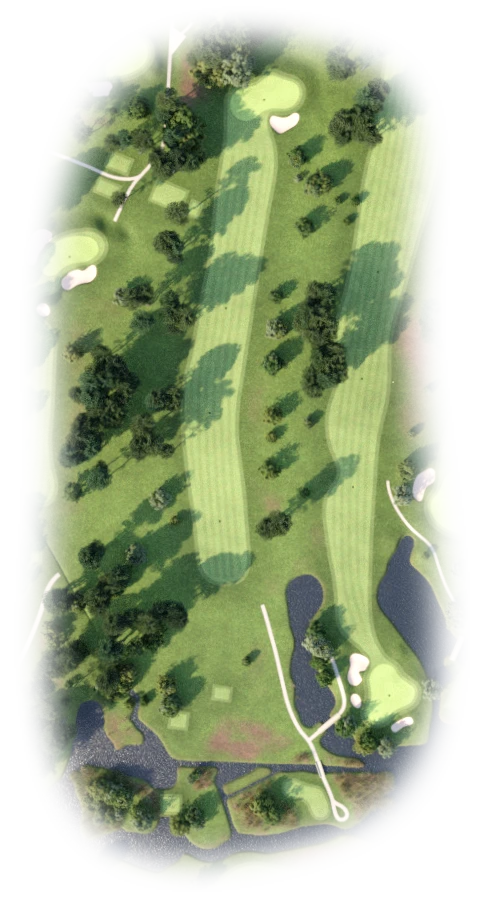
The 2nd hole is a deceptively difficult par 3. There is a water hazard at the front left of the green and a penalty area around the rest of the left side and back. Two pot bunkers to the right gather many tee-shots with the green sloping away towards the water on the front left.
3 |
|
||||||||
|
|
Buttons toggle between distance guide and media. See hole layout for result. If available, click orange icons to view media. All distances measured in meters from middle of Tee.
The 1st of the four par-5s, the 3rd hole is a dog-leg right. The drive is between two stands of trees where the fairway turns right. The green is guarded by water to the left and across the front of the green which slopes from back right to the front left.
4 |
|
||||||||
|
|
Buttons toggle between distance guide and media. See hole layout for result. If available, click orange icons to view media. All distances measured in meters from middle of Tee.
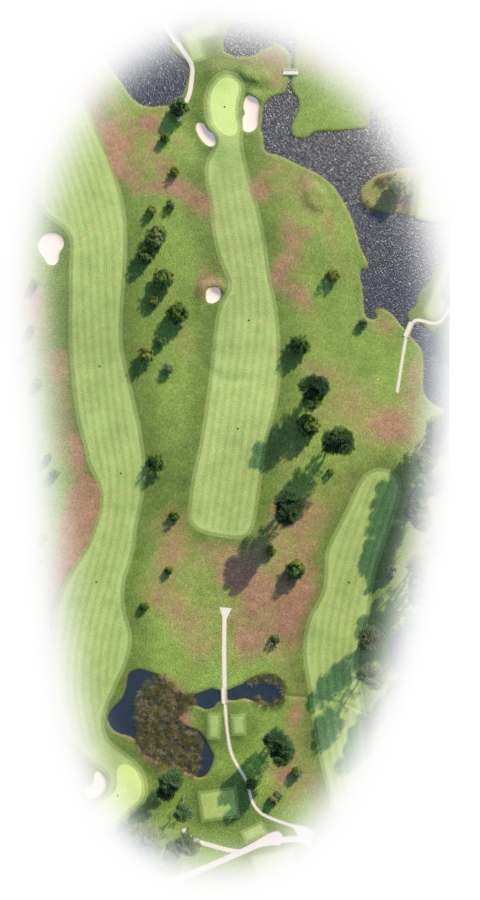
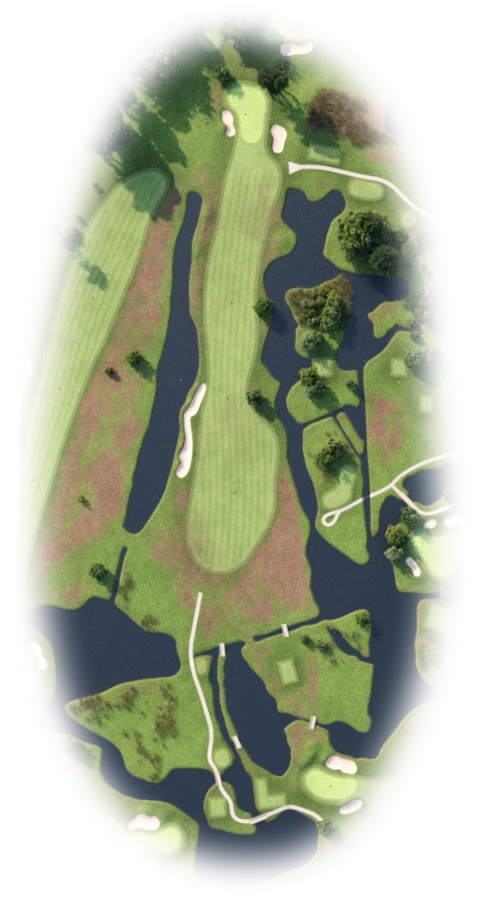
From the blue tees the drive on the 4th hole is over water to a fairway that doglegs left. There is another water hazard on the corner of the fairway. The pin can be tucked away in the back left of the green behind a bunker and there is a steep bank behind which slopes down into heavy rough.
5 |
|
||||||||
|
|
Buttons toggle between distance guide and media. See hole layout for result. If available, click orange icons to view media. All distances measured in meters from middle of Tee.
A straight-away par 4, the 5th hole has the green guarded by water. These penalty areas are to the right, long left and beyond the green. The green slopes heavily from back to front with a bank to the right. There is also a deep bunker running down to the water’s edge.
6 |
|
||||||||
|
|
Buttons toggle between distance guide and media. See hole layout for result. If available, click orange icons to view media. All distances measured in meters from middle of Tee.
The 6th hole is index 1 for both men and ladies. Water hazards run the entire length of the hole and on both sides of the fairway. The large green in guarded by bunkers front left and right and has an upper tier which proves difficult to reach.
7 |
|
||||||||
|
|
Buttons toggle between distance guide and media. See hole layout for result. If available, click orange icons to view media. All distances measured in meters from middle of Tee.
The 7th hole is a short par-4 that requires two good shots to reach. There is a ditch that runs diagonally across the fairway. The longest carry is on the safer left-hand side of the fairway but allows for a easier approach shot. The green is angled to the fairway and the flag can be tucked away behind a deep green-side bunker making the second shot difficult to judge.
8 |
|
||||||||
|
|
Buttons toggle between distance guide and media. See hole layout for result. If available, click orange icons to view media. All distances measured in meters from middle of Tee.
The 8th hole is the well known par-3 surrounded by water and penalty areas. Although the green is large and slopes from back to front, it is difficult to hit in one and you must take enough club to reach the middle even if the flag is at the front as there is a steep bank that runs down to the water.
9 |
|
||||||||
|
|
Buttons toggle between distance guide and media. See hole layout for result. If available, click orange icons to view media. All distances measured in meters from middle of Tee.
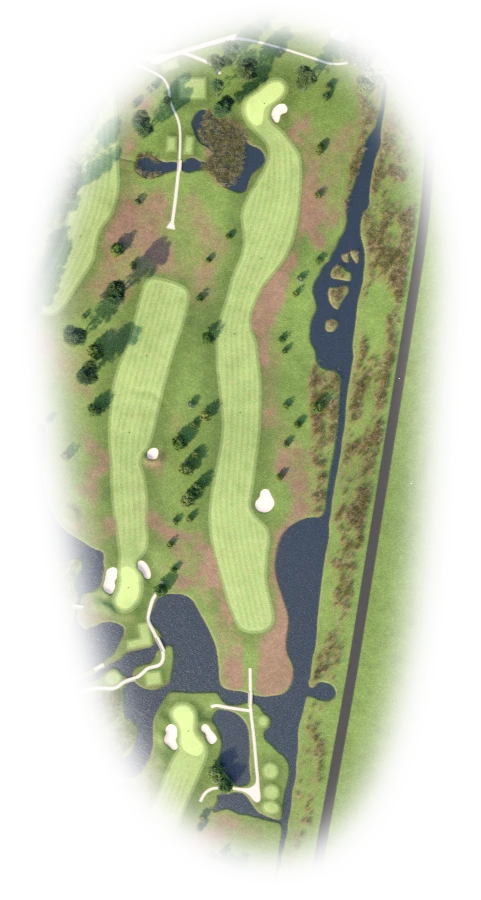
A straight hole with no bunkers at all. However, along the entire length of the hole, on both sides, are penalty areas and a ditch runs across the fairway just short of the green making the decision to go for the green a little more difficult. Although not a long par-5 this hole requires good positioning of the second shot for the approach to the green which slopes from back to front with a hazard behind.
10 |
|
||||||||
|
|
Buttons toggle between distance guide and media. See hole layout for result. If available, click orange icons to view media. All distances measured in meters from middle of Tee.
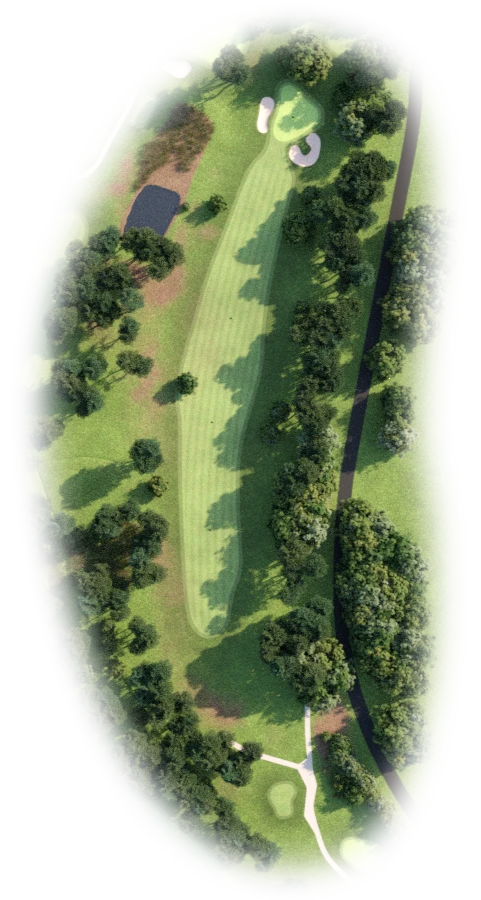
A gentle dog-leg right, the 10th hole has a lateral hazard along the entire right side and a stand of trees near the green. The green slopes heavily from back to front and is guarded by deep bunkers front right and along the left side. If you can’t reach the green in two make sure you stay left of the green to avoid the trees to the right.
11 |
|
||||||||
|
|
Buttons toggle between distance guide and media. See hole layout for result. If available, click orange icons to view media. All distances measured in meters from middle of Tee.
A straight par-4 the 11th hole has many challenges. There is out-of-bounds along the entire right-hand side and water along the left. The water hazard cuts-in across the front of the green and runs around the left and back. The green is heavily sloped from the back with bunkers left and right at the front.
12 |
|
||||||||
|
|
Buttons toggle between distance guide and media. See hole layout for result. If available, click orange icons to view media. All distances measured in meters from middle of Tee.
The 12th hole is a difficult par-3 with water surrounding the green on three sides. It plays slightly uphill and is usually into the prevailing wind making it play longer than the distance on the card. To be safe play short right and chip up the green which is angled to the left.
13 |
|
||||||||
|
|
Buttons toggle between distance guide and media. See hole layout for result. If available, click orange icons to view media. All distances measured in meters from middle of Tee.
The 13th hole is a difficult par-5 with water on the right off the tee, a water hazard just short of the green and an undulating fairway. Position of your second shot is critical as there is a deep bunker guarding the green to the right and steep slopes around the back.
14 |
|
||||||||
|
|
Buttons toggle between distance guide and media. See hole layout for result. If available, click orange icons to view media. All distances measured in meters from middle of Tee.
At stroke 18 the 14th hole is the easiest hole on the course. But, although looking fairly straight-forward this hole can be tricky. The green is raised and will play longer than the distances on the card and is usually played directly into the prevailing breeze. The two deep bunkers left and right are difficult to get up and down from.
15 |
|
||||||||
|
|
Buttons toggle between distance guide and media. See hole layout for result. If available, click orange icons to view media. All distances measured in meters from middle of Tee.
The 15th hole is a gentle dogleg right with a large stand of pine trees along the left side of the fairway. The green has two distinct levels with a lateral hazard behind and the entire right side from tee to green of the hole is out of bounds.
16 |
|
||||||||
|
|
Buttons toggle between distance guide and media. See hole layout for result. If available, click orange icons to view media. All distances measured in meters from middle of Tee.
The longest hole on the course, the 16th hole requires a good tee shot so that the second can be positioned correctly on the fairway to make the approach to the green easier. The green is on a peninsular which is surrounded on three sides by water with two deep bunkers guarding the right-hand side and a further bunker at the back.
17 |
|
||||||||
|
|
Buttons toggle between distance guide and media. See hole layout for result. If available, click orange icons to view media. All distances measured in meters from middle of Tee.
From the white tees the 17th hole can play as either a dog-leg right or straight depending on the tee position. The challenge with this hole is the heavily sloping green. If the pin is to left side the approach shot is easier, but with a pin on the right behind a very deep bunker the approach requires accuracy.
18 |
|
||||||||
|
|
Buttons toggle between distance guide and media. See hole layout for result. If available, click orange icons to view media. All distances measured in meters from middle of Tee.
The 18th hole fairway rises gently to an elevated green in front of the clubhouse. The green has many tricky slopes and a deep pot bunker at the back. There are also two deep bunkers left and right at the front. A par here is a good score.