1 |
|
|||||||||
|
|
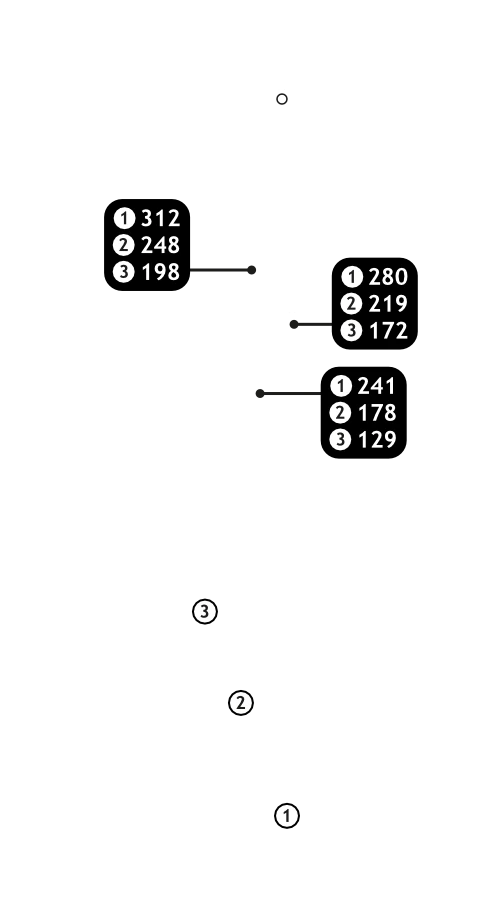
Buttons toggle between distance guide and media. See hole layout for result. If available, click icons to view media.
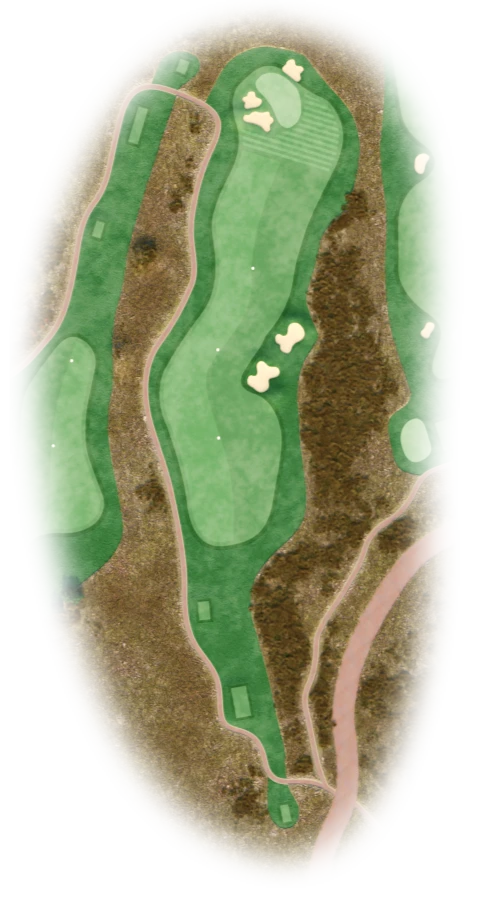
When using a driver or a 3 wood, try and favour the left side of the fairway as there are 2 deep fairway bunkers towards the right. The approach shot is to an elevated green with 2 bunkers guarding the left front and 1 bunker just off the back right side of the green. It is best to take one club more and aim for the middle of the green.

2 |
|
|||||||||
|
|
Buttons toggle between distance guide and media. See hole layout for result. If available, click icons to view media.
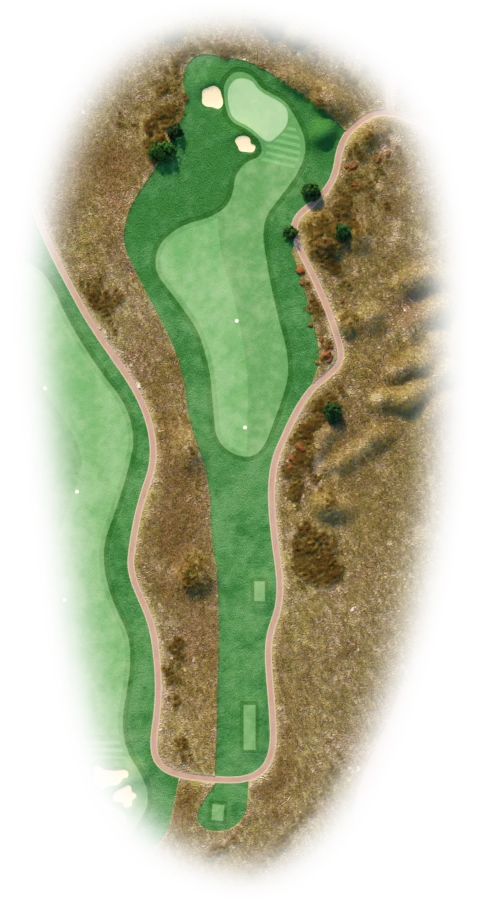
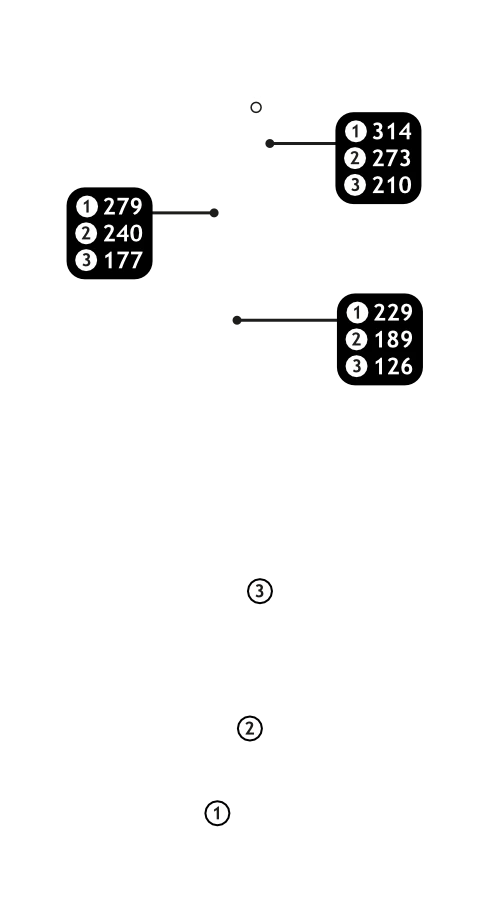
This is a very short par four with two options of play. For the player that would like to risk, hit a driver towards the right side of the green. The player that elects to play more conservatively would use a 4 or 5 iron and aim towards the middle of the fairway. The approach is to an elevated green with a very deep bunker guarding the front of the green. It is best to aim towards the back of the green as a slope at the back helps you from not going to long.
3 |
|
|||||||||
|
|
Buttons toggle between distance guide and media. See hole layout for result. If available, click icons to view media.
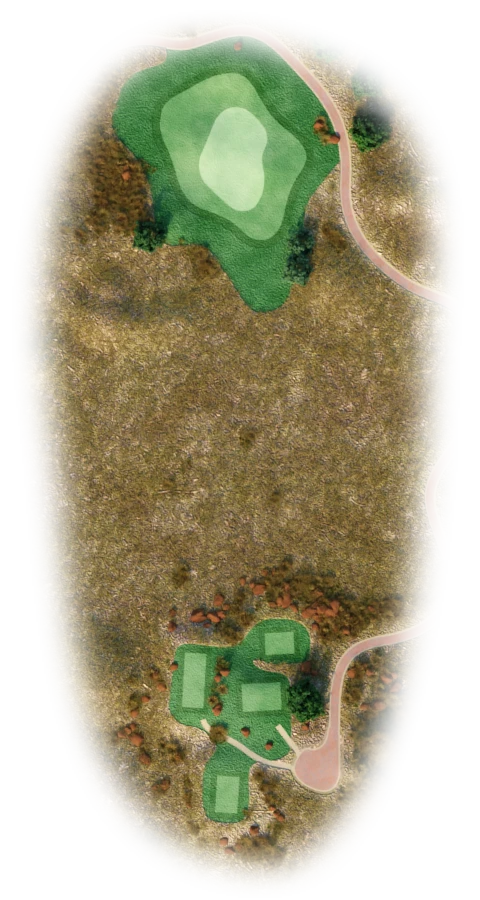
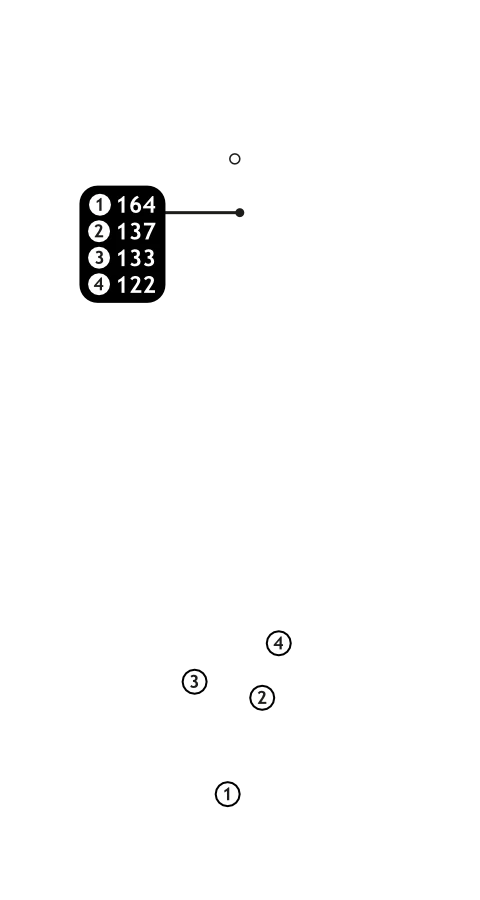
From the tee not much of the green is visible and the front part of the green consists of a very steep slope. This slope punishes any shots just short of the hole, by rolling all the way back off the green. The best way to play this hole is to aim towards the left middle or back right part of the green.
4 |
|
|||||||||
|
|
Buttons toggle between distance guide and media. See hole layout for result. If available, click icons to view media.
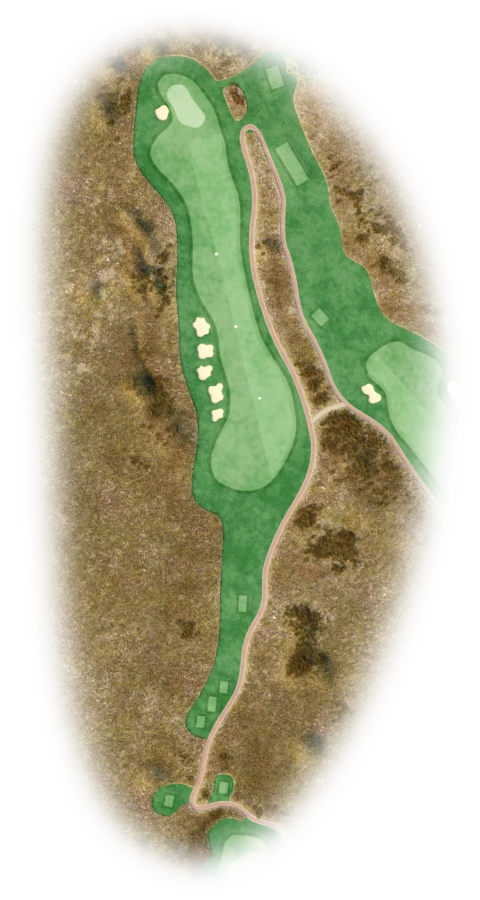
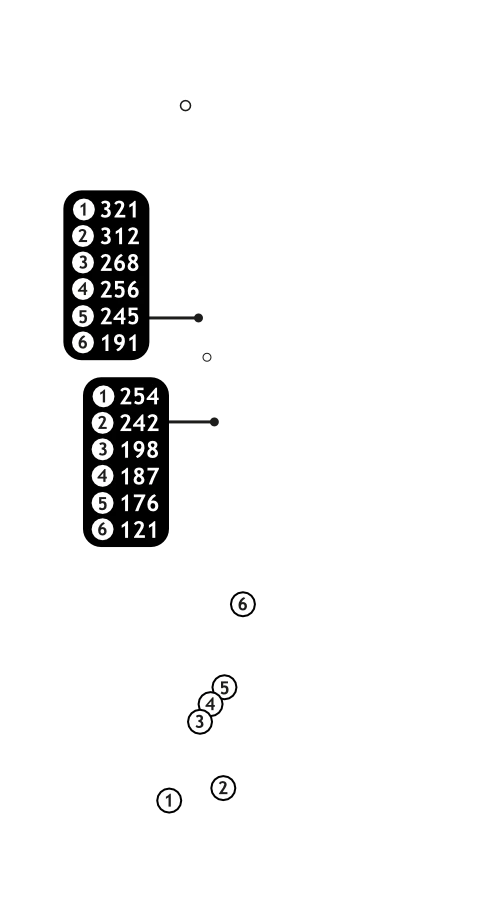
You are excused for taking a moment to enjoy the beautiful scenery on this hole, as it is the signature hole at Highland Gate. The left side of the fairway is protected by 5 bunkers, so make sure to aim more towards the right side when taking a driver or a 3 wood. The approach to the green is downhill and slopes towards the back left. Aim towards the front right part of the green as even a shot that ends up short will sometimes be rewarded with a roll up to the middle of the green.
5 |
|
|||||||||
|
|
Buttons toggle between distance guide and media. See hole layout for result. If available, click icons to view media.
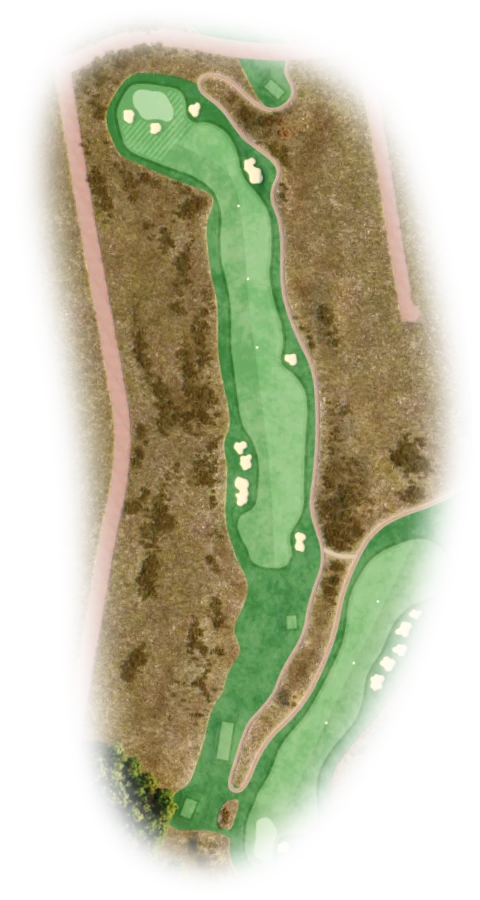
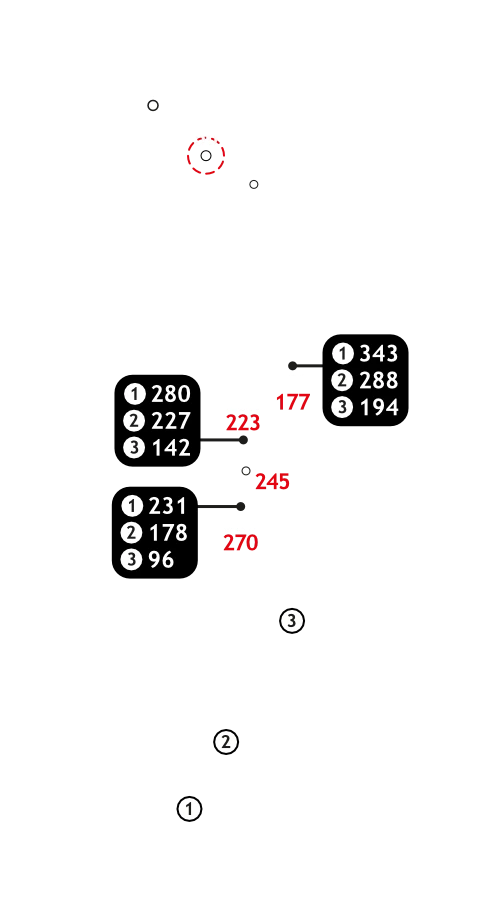
This is one of the longer holes at Highland Gate and normally plays into the wind. Driver is the club to use as it is a very wide fairway. Aiming towards the bunker in the middle of the fairway is a good line. When laying up aim towards the right side of the fairway as everything slopes towards the left. The approach to the green is protected by a bunker in front and left of the green. The green also has a big bowl slope on the front left part, so any shots toward the middle of the green will feed towards the front left portion.
6 |
|
|||||||||
|
|
Buttons toggle between distance guide and media. See hole layout for result. If available, click icons to view media.
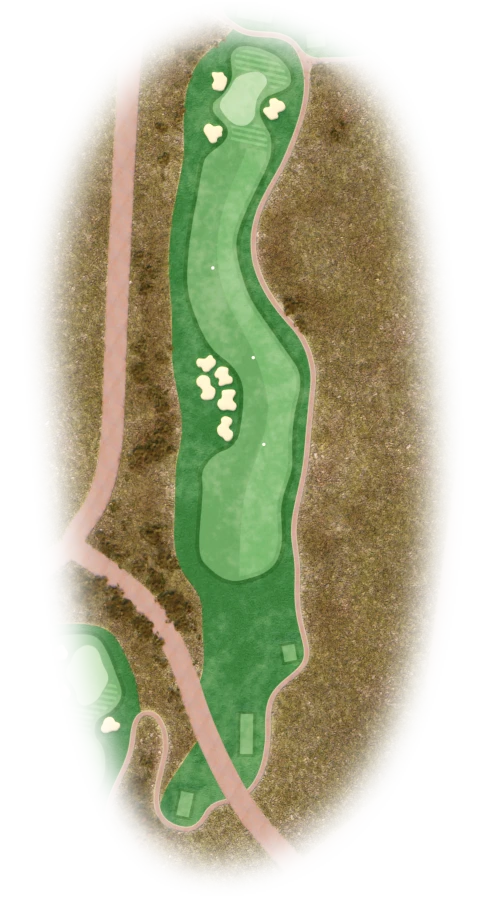
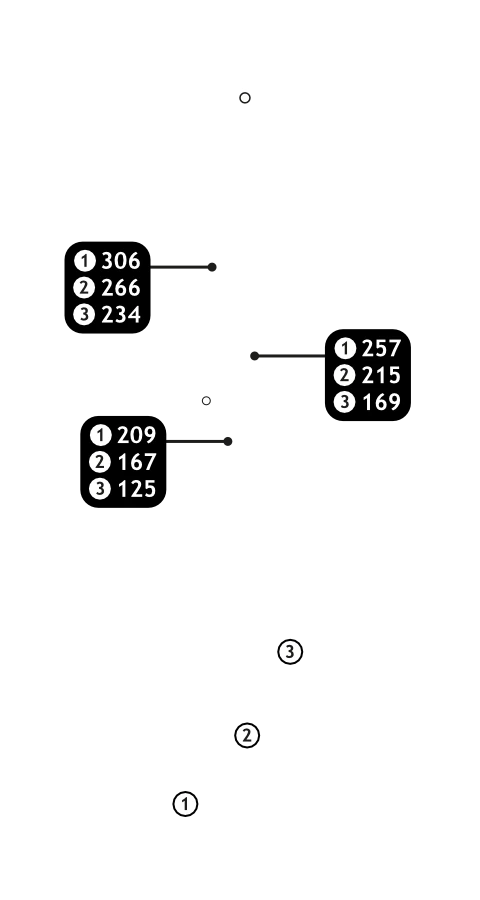
From the tee it is difficult judge the line of your tee shot. Using a driver, the line should be hit over the right side of the bunkers. The hole is a small dog leg to the right. The second shot is played down towards the green with bunkers guarding the front left, right and left side of the hole. It is better to play towards the front right part of the green as slope in the middle tends to cause the ball to release and roll through the green.
7 |
|
|||||||||
|
|
Buttons toggle between distance guide and media. See hole layout for result. If available, click icons to view media.
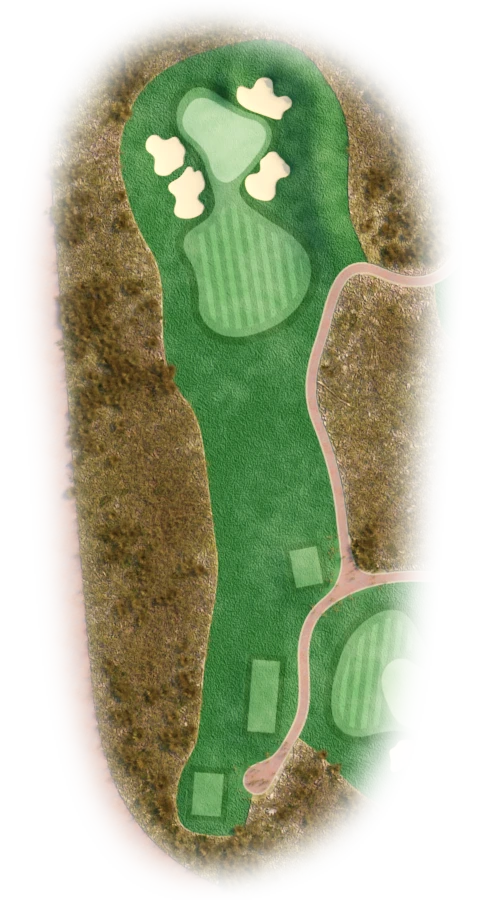
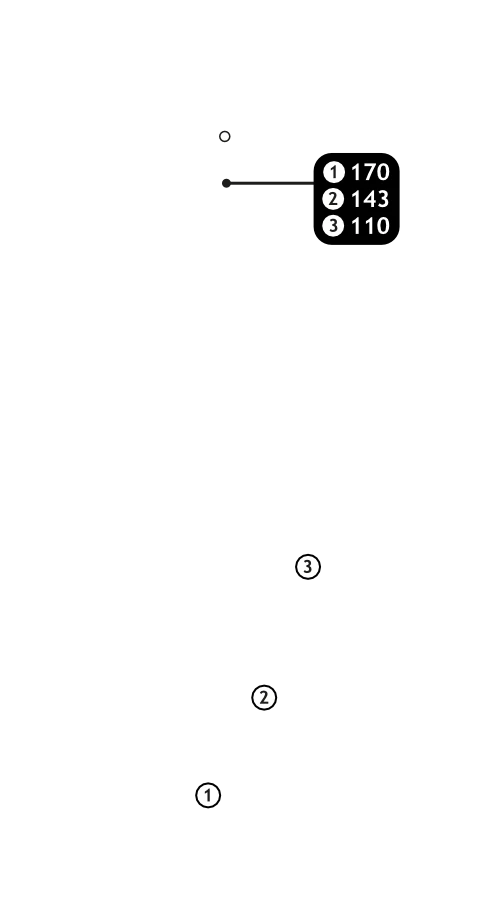
This is a medium length par 3 with bunkers almost surrounding the whole green. Accuracy and distance control is the main objective for this hole. Make sure to aim for the middle of the green, as anything off the green will be punished with a very difficult shot to the pin.
8 |
|
|||||||||
|
|
Buttons toggle between distance guide and media. See hole layout for result. If available, click icons to view media.
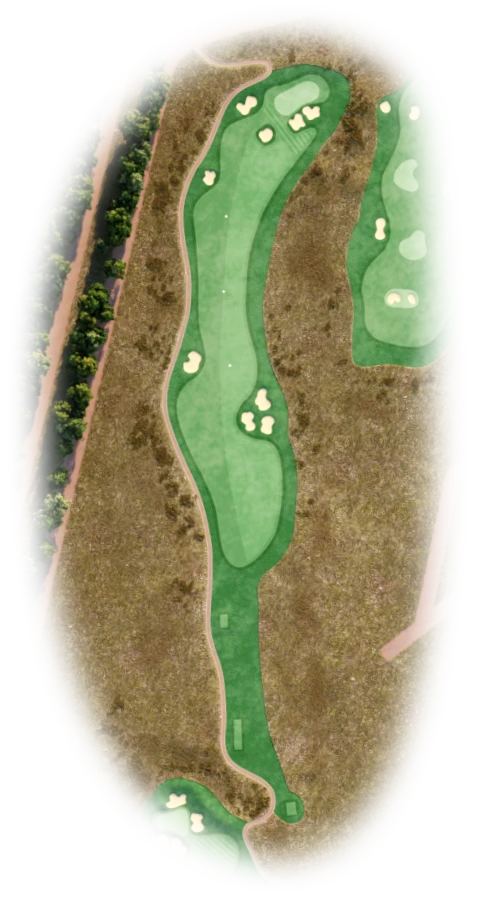
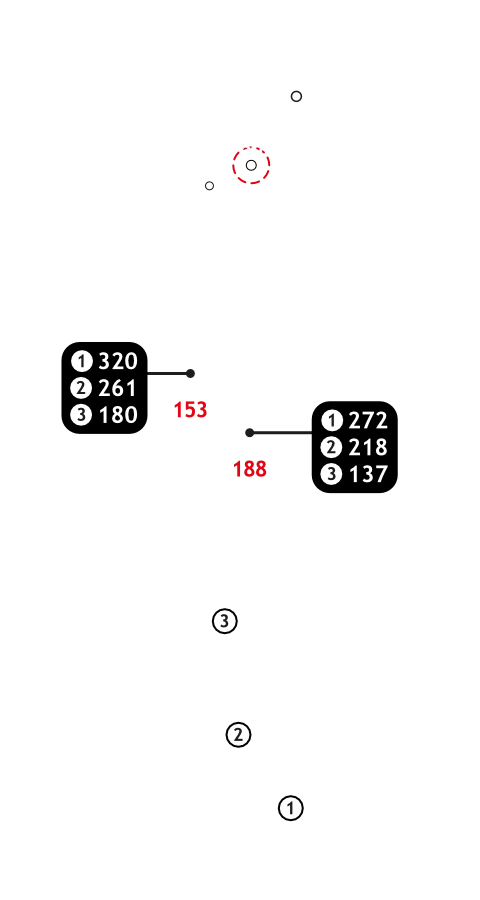
This is a short par 5 and is the ideal opportunity to score. The fairway is relatively wide with one bunker on the left and three bunkers to the right. Use a driver and aim right down the middle of the fairway. The next shot leaves you with a decision, to either risk it or to play safe. Risking it would ask for a long iron played towards the left part of the green, as the middle, right side is protected by two bunkers. A slope at the back of the green protects you from going to long, so be sure to use enough club as being too short will also be penalized by a fairway bunker towards the left side of the green. When laying up, make sure to leave yourself with more than 50m in for your third shot, as anything less than that will be played toward an elevated green or end up in the fairway bunker towards the front left part of the green.
9 |
|
|||||||||
|
|
Buttons toggle between distance guide and media. See hole layout for result. If available, click icons to view media.
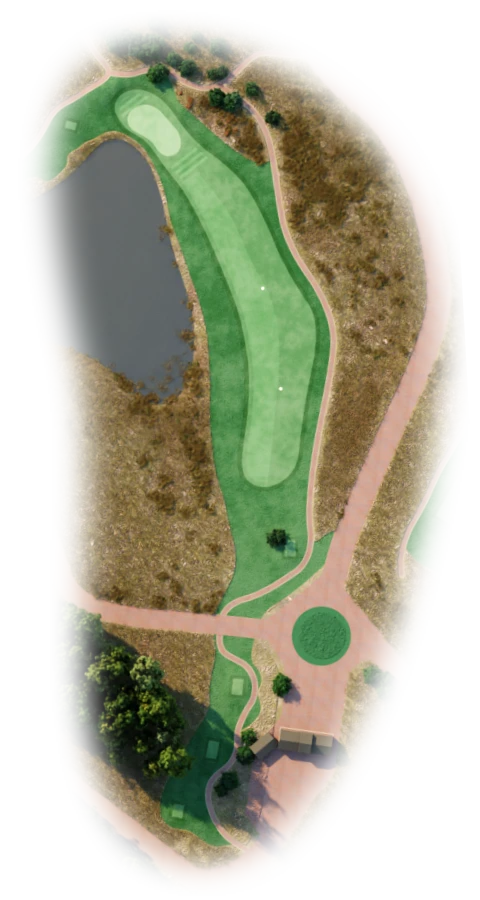
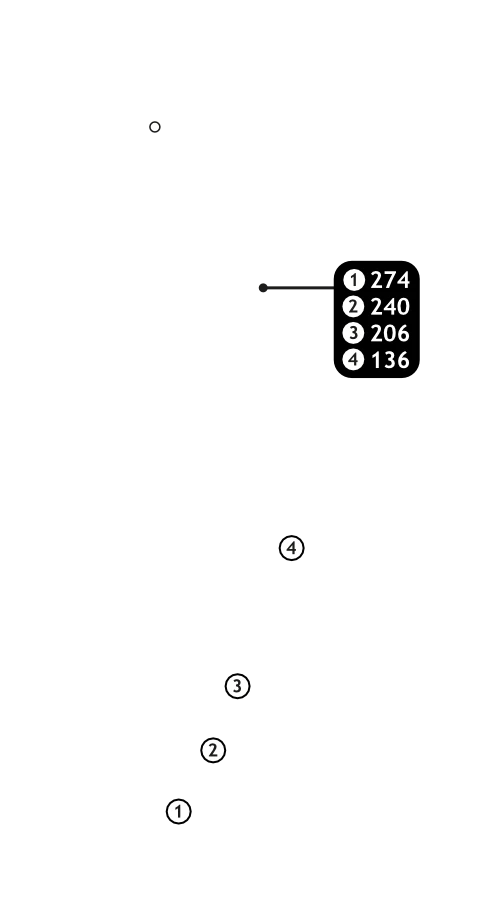
This short par 4 can be very rewarding if played correctly. The big dam protects the left side of this fairway, with the green tucked away just behind the dam. The average golfer would play towards the right side of the fairway, opening the line towards the green. The longer hitters might have a go at driving this green if the wind plays along. The green is long and narrow and protected by the dam on the left. The slope right in the middle of the green tends to stop the ball quickly when playing your second shot.
10 |
|
|||||||||
|
|
Buttons toggle between distance guide and media. See hole layout for result. If available, click icons to view media.
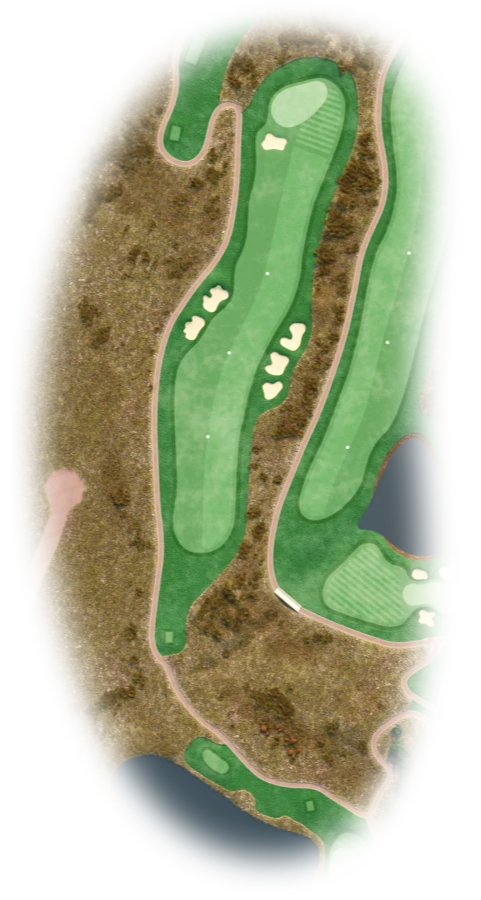
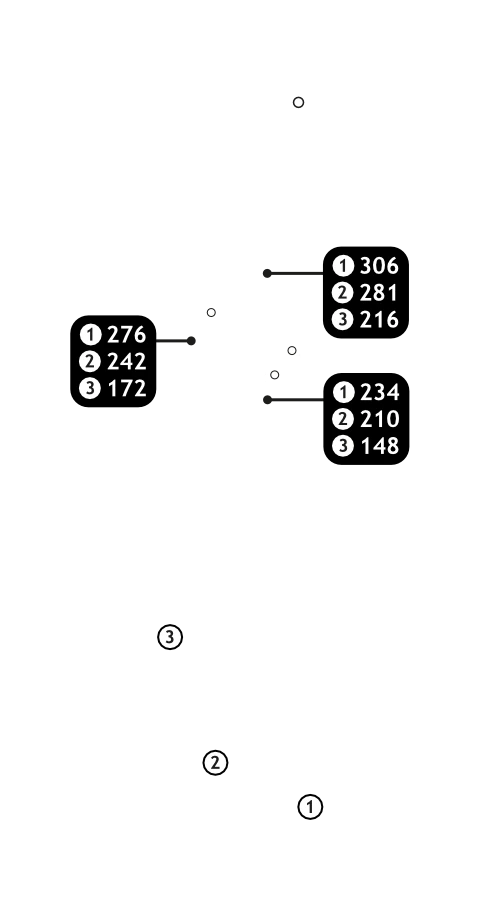
This is one of the longer par 4’s at Highland Gate. The hole is straight with bunkers on the left and right side of the fairway. For the average golfer a driver or 3 wood is the club to use if you would like to reach the green in 2. The green is protected by a bunker on the left front side and a steep slope on the front right side, so hitting towards the back of the green is the safe option.
11 |
|
|||||||||
|
|
Buttons toggle between distance guide and media. See hole layout for result. If available, click icons to view media.
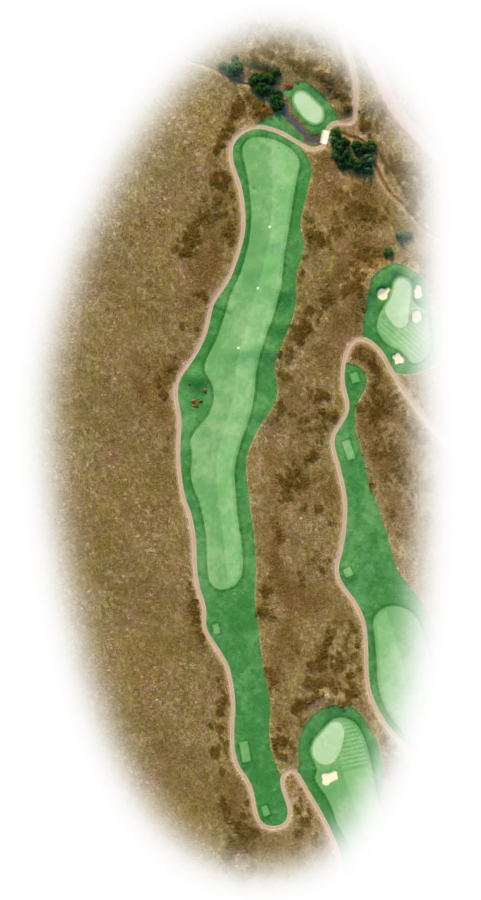
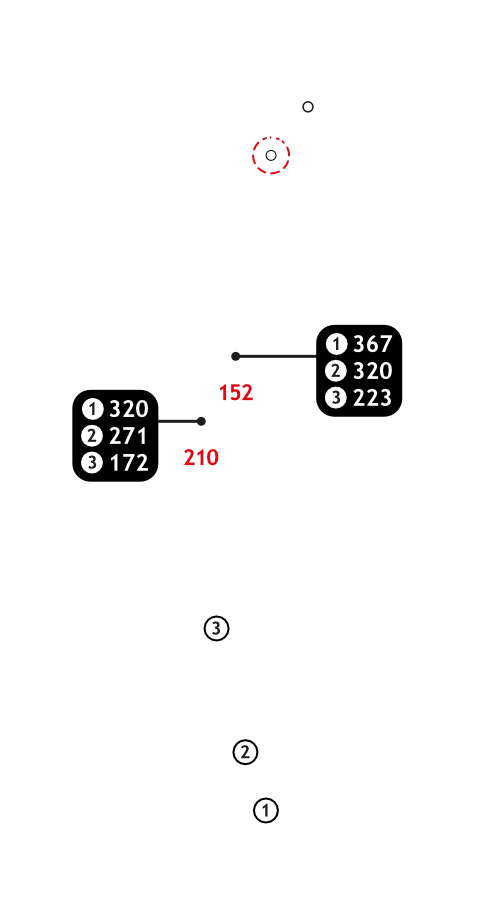
This dogleg right steep downhill hole is one of the more difficult holes at Highland Gate. Reaching this green in two is very difficult, so the best way to play this hole is to make sure your tee shot is in play. Using a long iron or 3 wood is a good option. The second shot can be played easy, as the fairway is wide and the steep slope helps with roll, just make sure not to over hit this shot as the roll out might have the ball run all the way through the fairway. The green is tucked away into a steep hill and a stream, protecting the whole front portion of the green. There is a severe slope from the back of the green, towards the stream. The best way to play your approach, is to play for the back middle part of the green and let the slope do the work. Keep in mind that your shot to the green is normally from a downslope, so the ball tends to come out lower than normal.
12 |
|
|||||||||
|
|
Buttons toggle between distance guide and media. See hole layout for result. If available, click icons to view media.
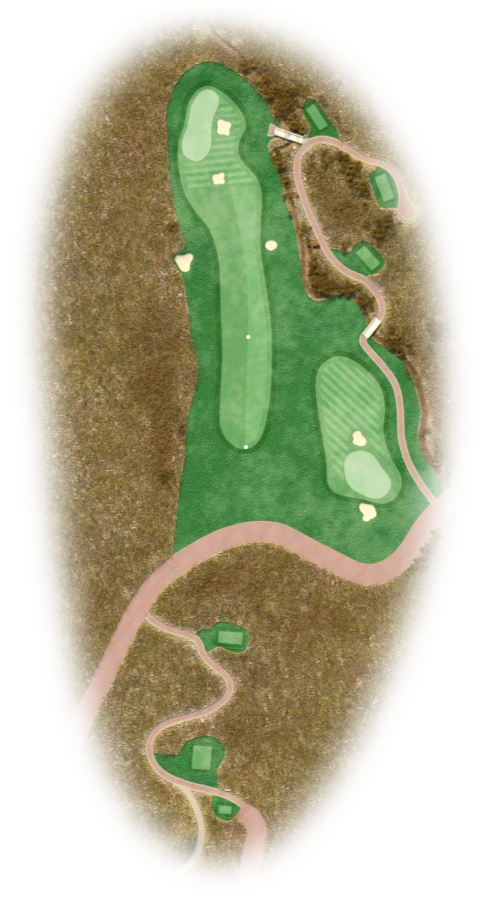
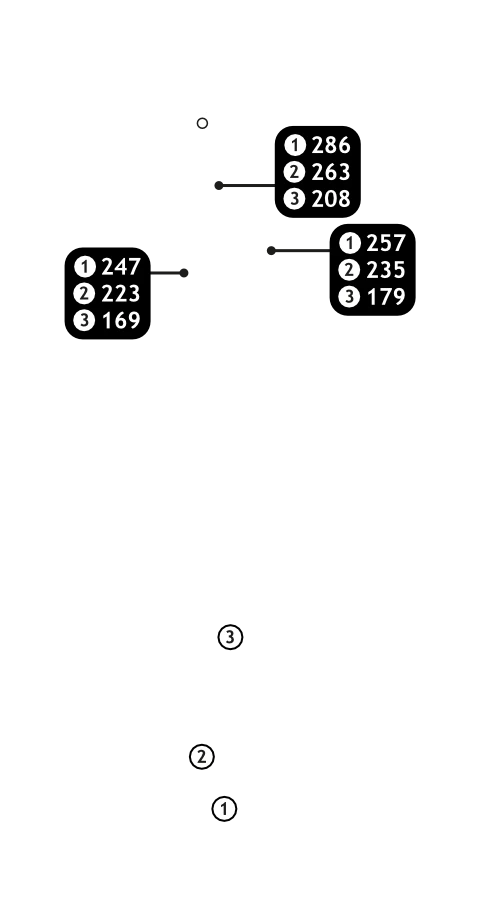
This is one of the holes that players normally talk about after the round. Hitting from a highly elevated tee on a short par 4 makes any golfer excited. The safe option is to take a mid to long Iron and to hit a layup towards the middle of the fairway, only a small fairway bunker on each side of the fairway is in play. The longer hitters that would like to risk it will use a driver and have a go at the green. The green is protected by two bunkers on the right with a stream on right of that. The left side of the green is protected by Out of Bounds, so there is very little room for error.
13 |
|
|||||||||
|
|
Buttons toggle between distance guide and media. See hole layout for result. If available, click icons to view media.
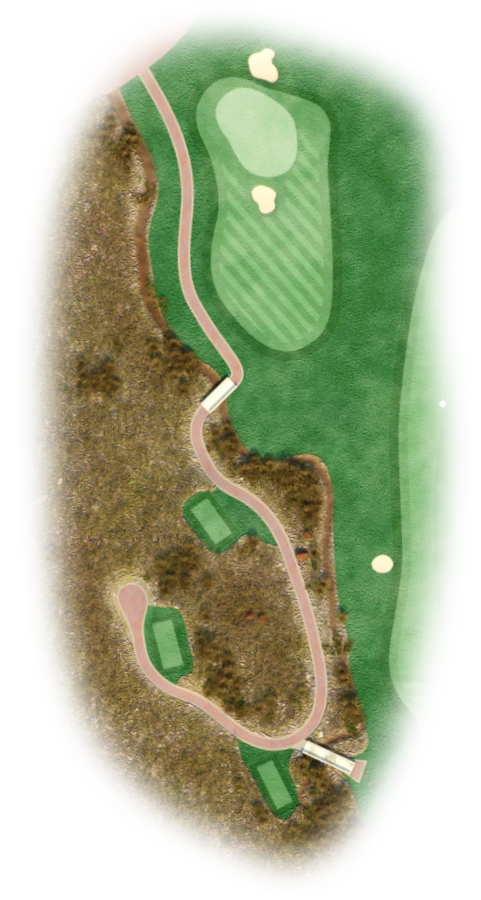
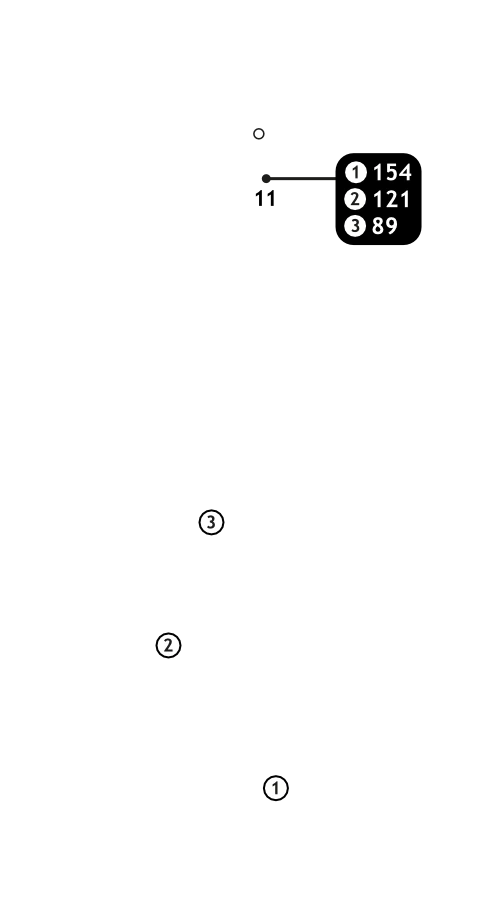
The 13th hole is the shortest hole at Highland Gate and straight forward. The green is guarded by a bunker on the front right and back left side. This is one of the holes where you can attack the pin with a short iron.
14 |
|
|||||||||
|
|
Buttons toggle between distance guide and media. See hole layout for result. If available, click icons to view media.
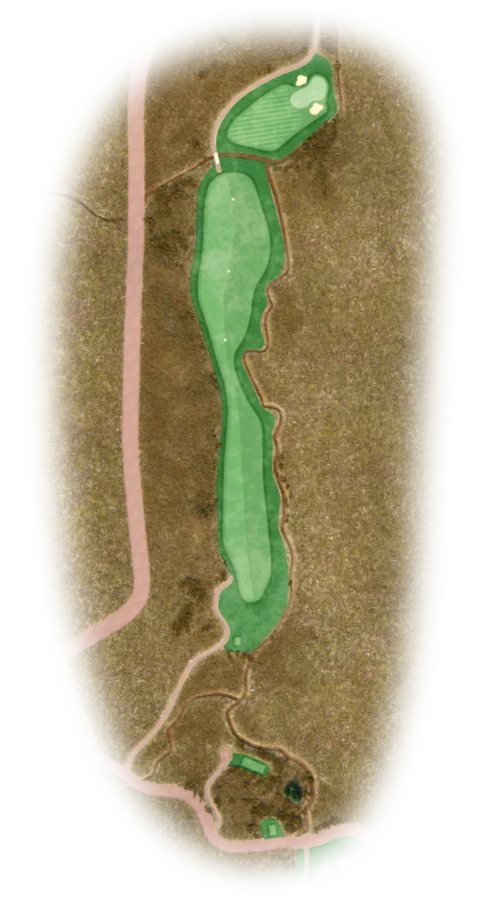
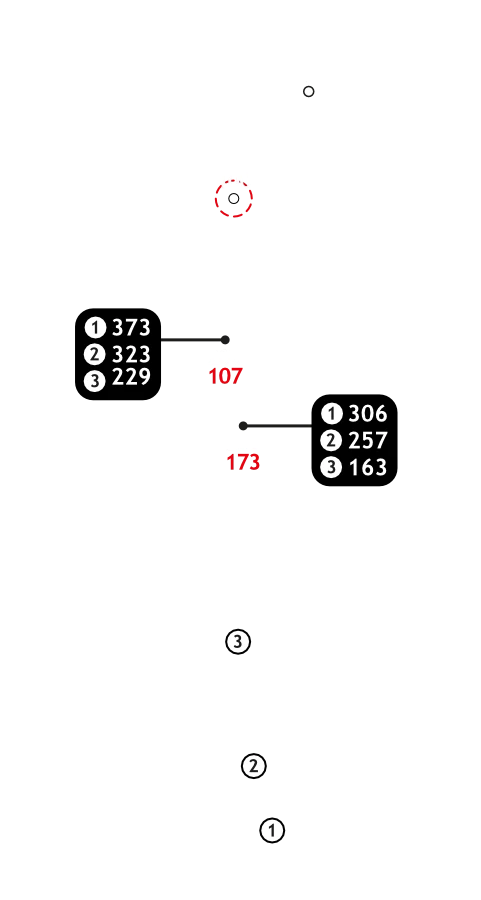
Hole 14 is the most talked about hole at Highland Gate. This is the longest and most difficult hole. The tee shot has a very narrow landing area and slopes towards the stream that runs along the right side of the fairway. Driver is not the best club to use as the room for error is very small, so using a mid to long iron try to aim towards the left side of the fairway. The green will not be reachable by the average golfer, The layup shot can be played using a mid-iron aiming towards the middle of the fairway. The landing area for the layup is relatively wide and the only danger is running through the fairway and into a small stream that crosses the fairway. Hitting towards this green, one needs to be very accurate and be able to control your distance. The green is guarded by a bunker on the left and right side, with a stream running all the way behind the green. The green is narrow and slopes towards the stream. The shot should be played for the front middle part of this green.
15 |
|
|||||||||
|
|
Buttons toggle between distance guide and media. See hole layout for result. If available, click icons to view media.
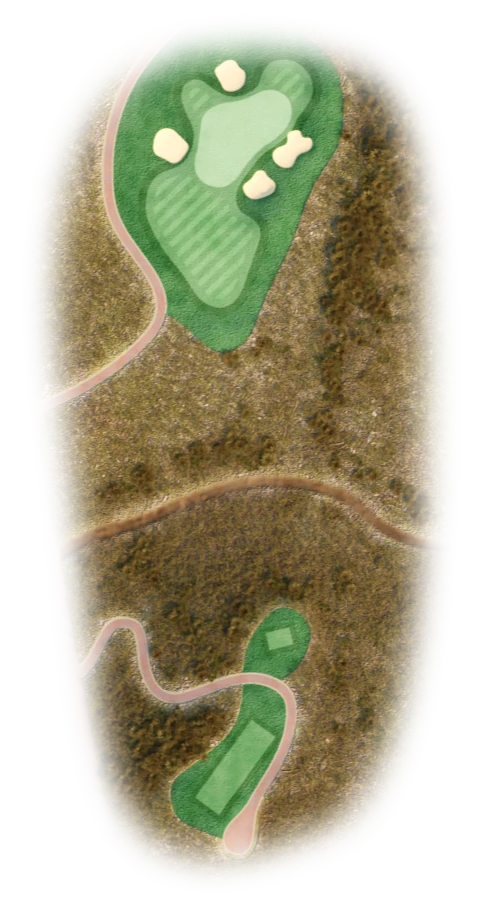
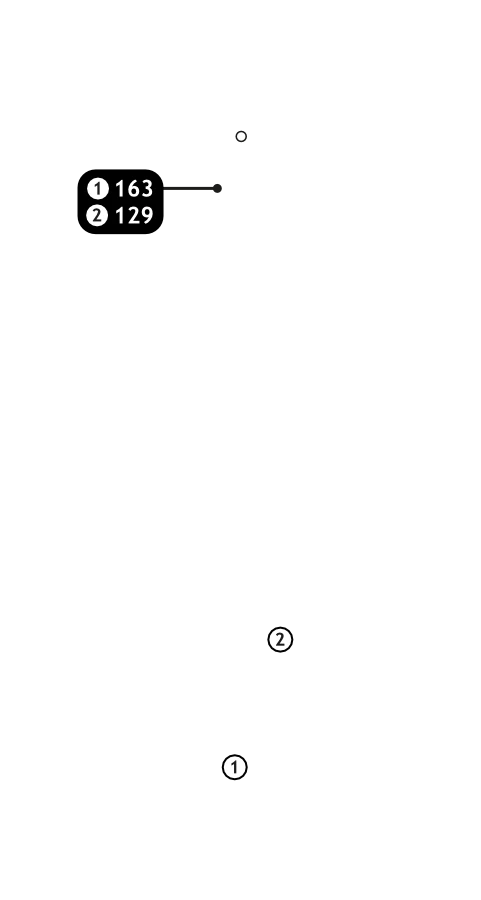
This is one of the more difficult par 3’s at Highland Gate. The green is guarded by two bunkers on the right front, one bunker on the left front and on at the back of the green. The prevailing wind causes allot of players to under club. The best way to play this hole is to take a mid-iron and aim towards the middle left part of the green. If you under club and hit it short, a big slope will return your ball all the way off the front part of the green.
16 |
|
|||||||||
|
|
Buttons toggle between distance guide and media. See hole layout for result. If available, click icons to view media.
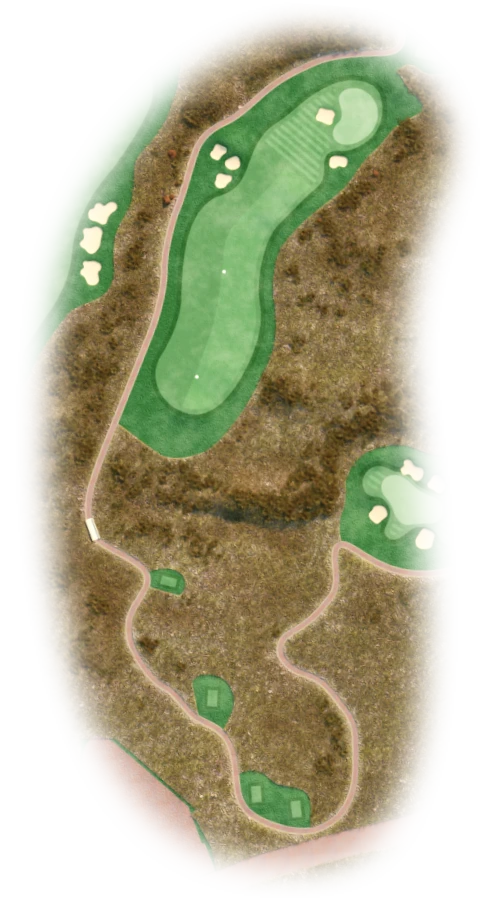
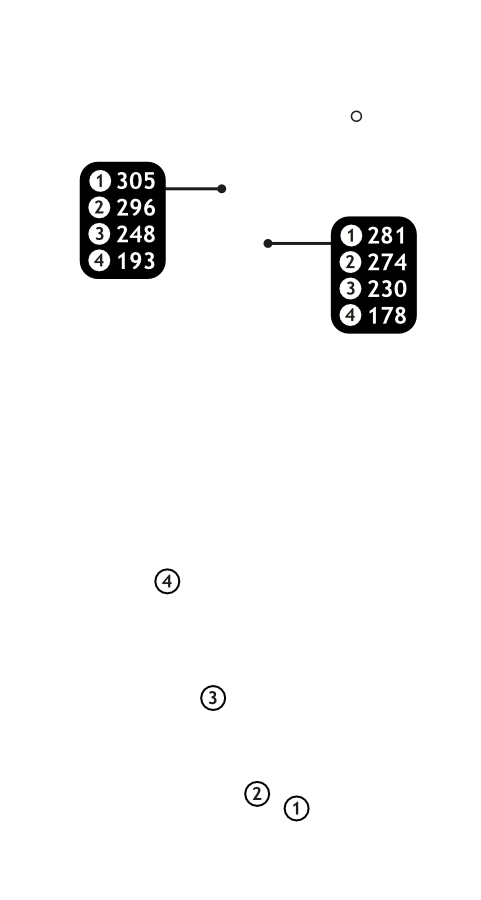
Visually this hole can be very intimidating, when hitting over a gorge with a steep drop-off just right of the fairway. This hole would reward you well if your tee shot finds the fairway. The total distance of the hole is not very long, however reaching the fairway is a problem for most. The carry is about 210m, so for most players the driver is the club to use. The green is narrow and long and is protected by a bunker on the left and front right side. Be careful of missing the green right, as it is protected by as very steep slope into the gorge. The green itself also has a gradual slope from the back to the front.
17 |
|
|||||||||
|
|
Buttons toggle between distance guide and media. See hole layout for result. If available, click icons to view media.
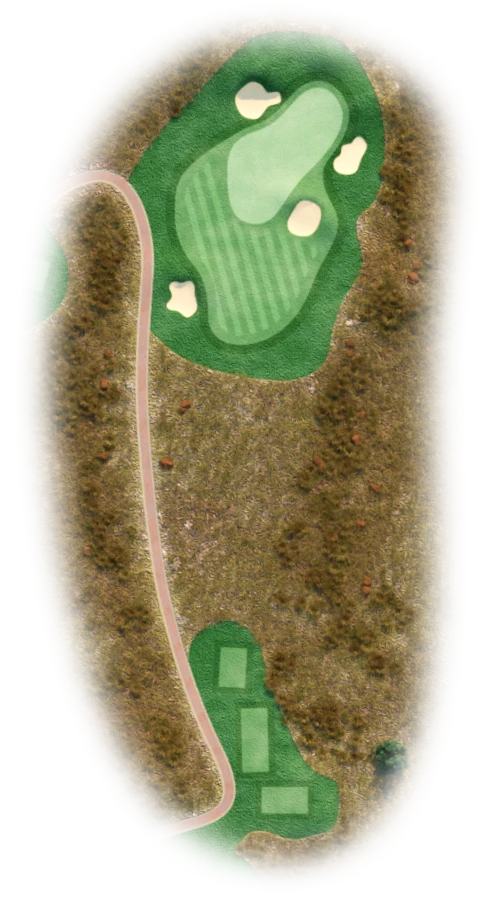
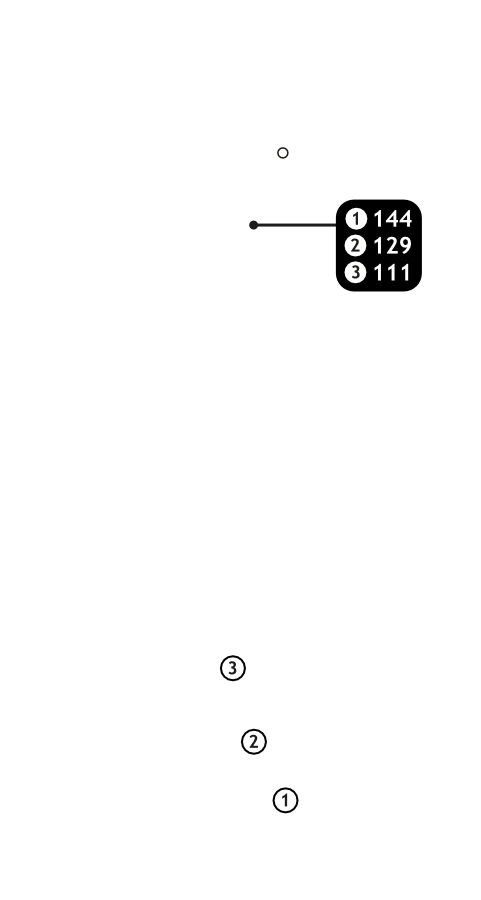
The 17th is one of the easier par 3’s, with a bunker at the back and two bunkers in front of the green. The green is relatively big, so using a mid-iron the pin can easily be attacked on almost every position of the green.
18 |
|
|||||||||
|
|
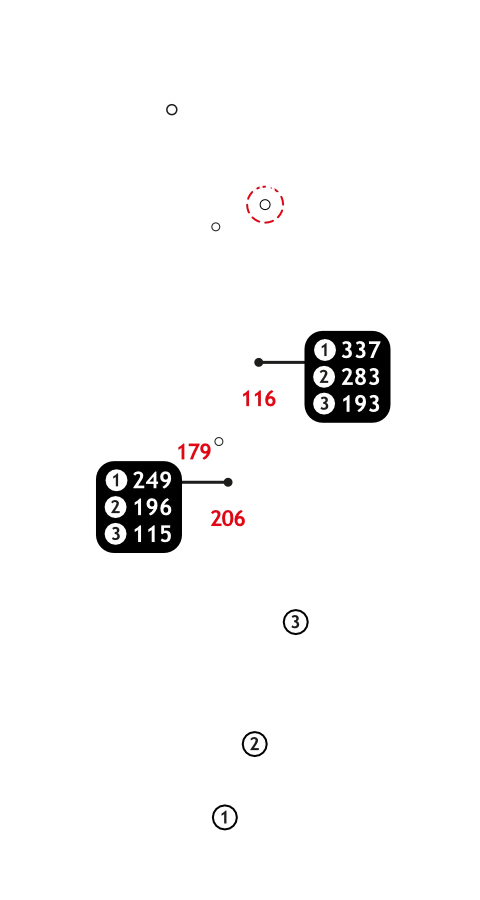
Buttons toggle between distance guide and media. See hole layout for result. If available, click icons to view media.
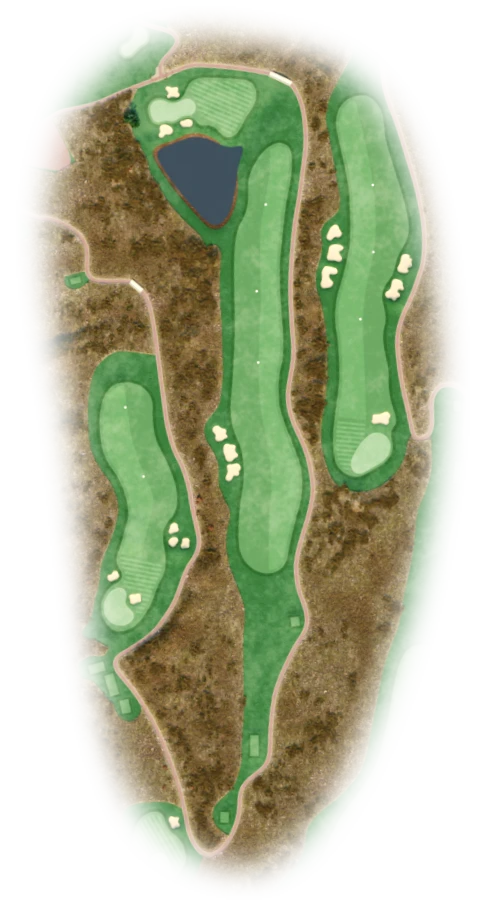
What a hole to finish on. This par 5 has a long, downhill fairway with 3 bunkers on the left side that come into play when using a driver. The lay-up shot can be played just right of the water and will leave you with a 100m shot to the green. Players that want to risk it and go for the green with their second shot have a very difficult downhill lie with a long iron over the dam which guards the green. The green is guarded by two bunkers in front and one at the back, so distance control is very important when hitting into this green. The slope at the back of the green can be used to get the ball rolling back to the middle of the green.